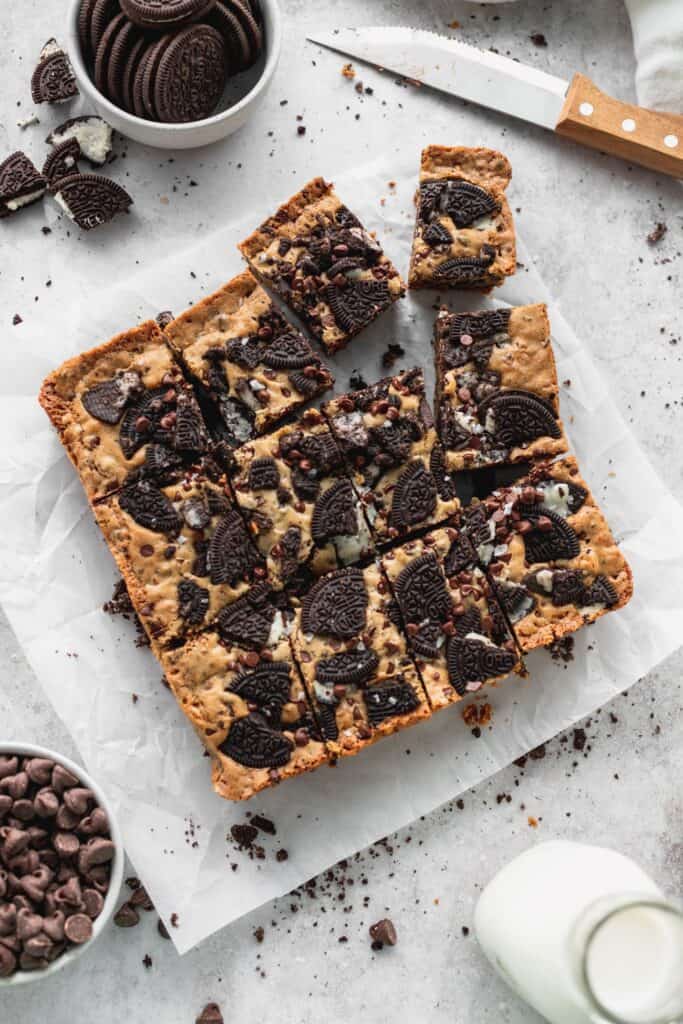
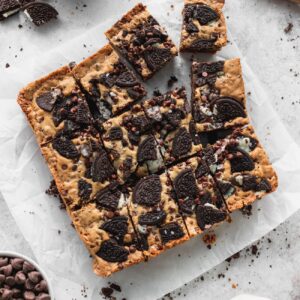
These Oreo blondies are what happens if you take a fudgy brownie, take out the cocoa powder and add in a bunch of chopped Oreos. They are SO good. These cookies and cream blondies also use brown butter to give them a rich and gourmet flavor.
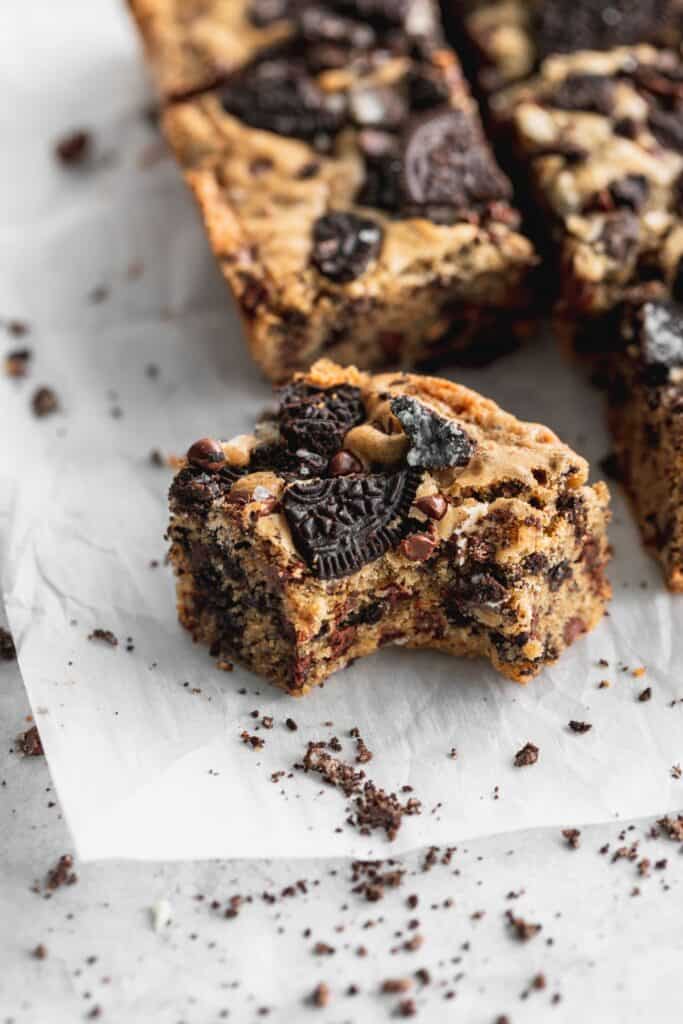
These Oreo blondies are pure heaven and they are super easy to make. These bars are packed with flavor because of brown butter! Brown butter can take any dessert and give it a richer and more gourmet flavor.
If you love brown butter, you will love brown butter chocolate chip cookies or brown butter carrot cake.
Jump to:
Why You Will Love This
- Super easy to make- These bars are ready to make into the oven after 30 minutes! The longest part is letting the brown butter cool slightly.
- No mixer required- All you need is a whisk and mixing bowls!
- Brown butter- The brown butter makes these blondies taste so rich.
- Oreo- There is so many Oreos in this recipe. The more the merrier!
- Mini chocolate chips- The chocolate chips give these bars pockets of chocolate.
Ingredients
Here are some notes about the ingredients used.
- Brown butter- After the butter is browned, it looses 20% of the water content. Which is why there are more eggs to make up for it.
- Brown sugar- You can use dark or light for this recipe. I used light.
- Cold eggs- These eggs are used cold because it gives it a fudgier texture.
- Egg yolk- The 2 egg yolk is to add more moisture and richness to these bars.
- No rising agent- There is no rising agent because since we are going for fudgy, if there was baking soda/powder it would cause it to rise while baking, and sink while cooling.
- Oreos- You can use any type of Oreo you would like.
- Mini chocolate chips- You can use regular chocolate chips, but I prefer mini pockets of chocolate.
Step By Step Instructions
Here are all the steps to make these Oreo blondies from start to finish.
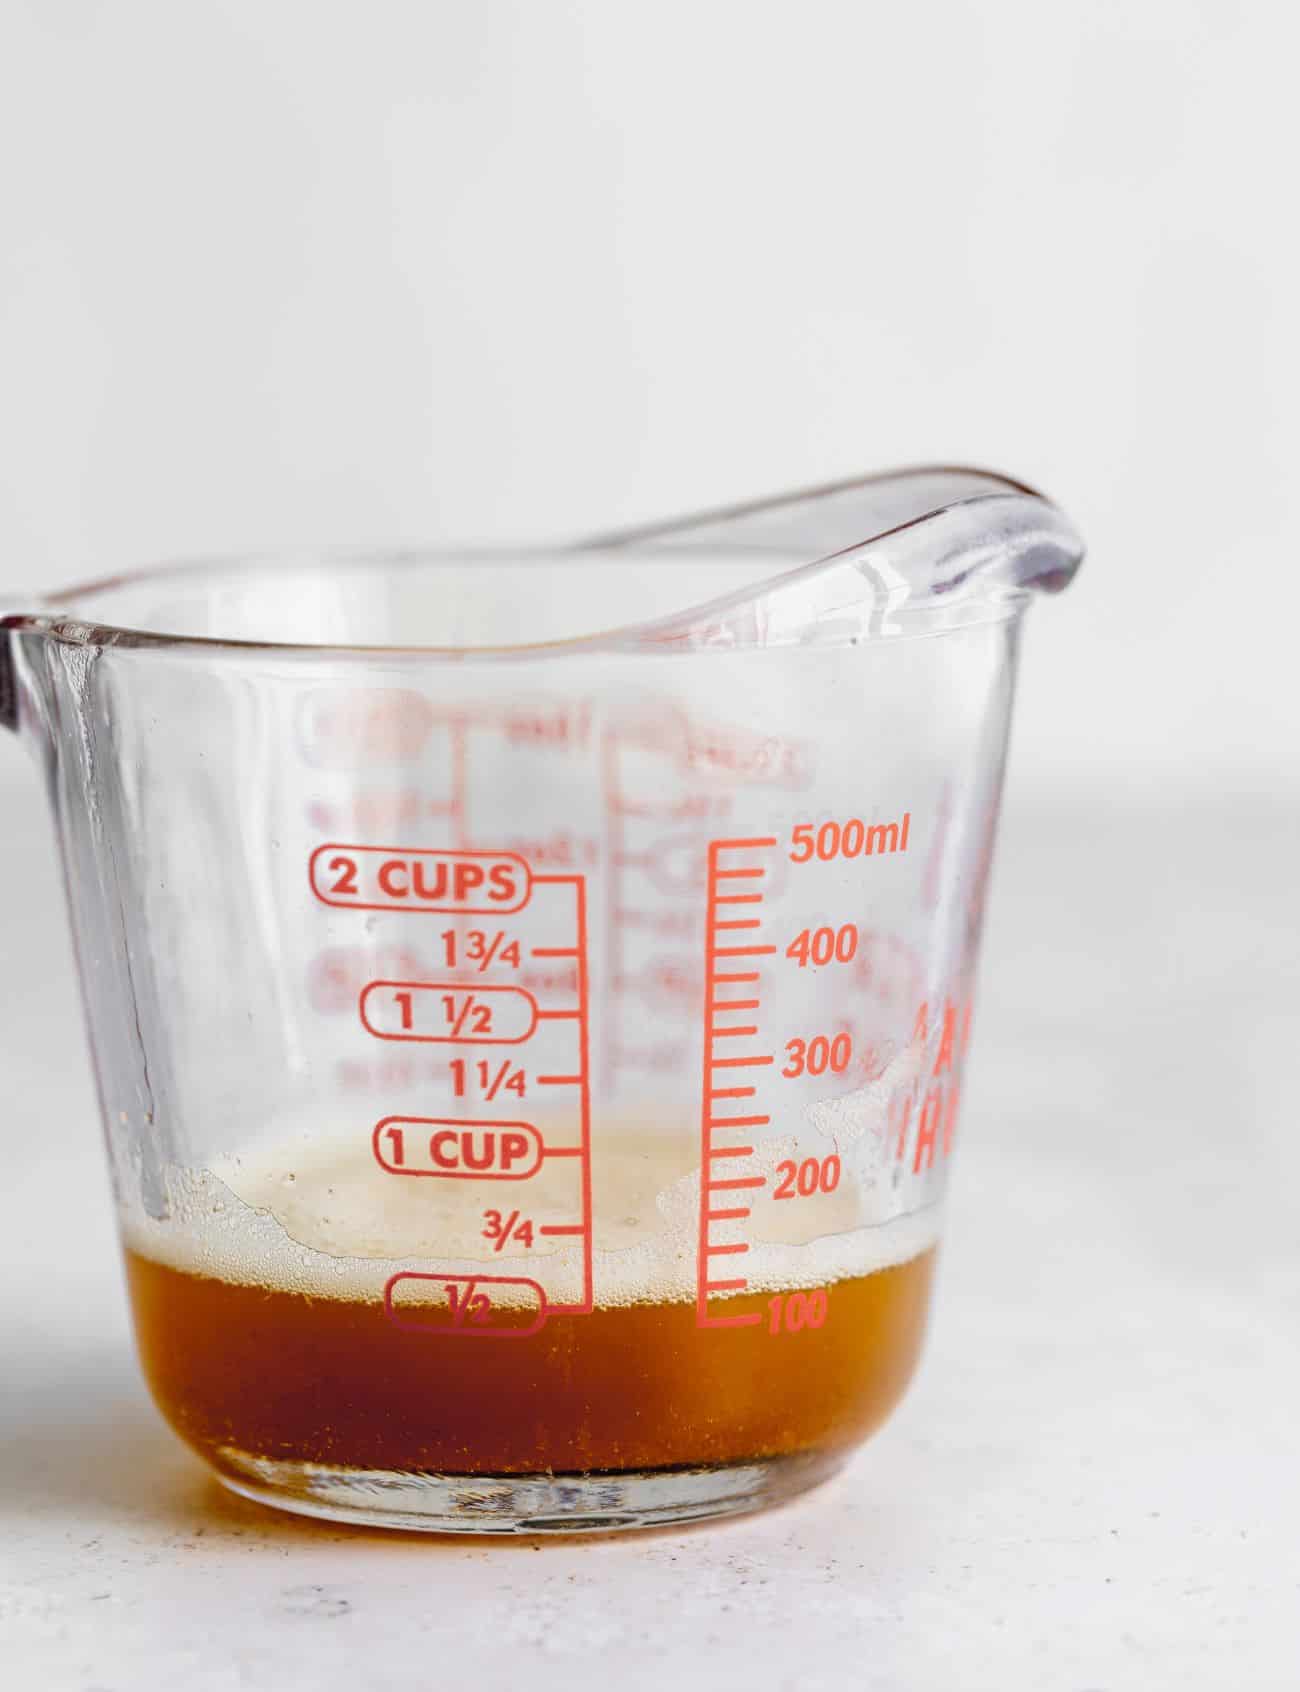
STEP 1: Start by browning the butter in a large frying pan. Let the butter melt completely. Stir constantly. Once the foam builds up in the butter and it is hard to see the bottom, then the butter is almost done browning.
STEP 2: Once the butter milk deposits and the butter turns a light amber, take off the heat. Next, let the butter cool for 15 minutes. Hot butter can cook the eggs, which we don't want.
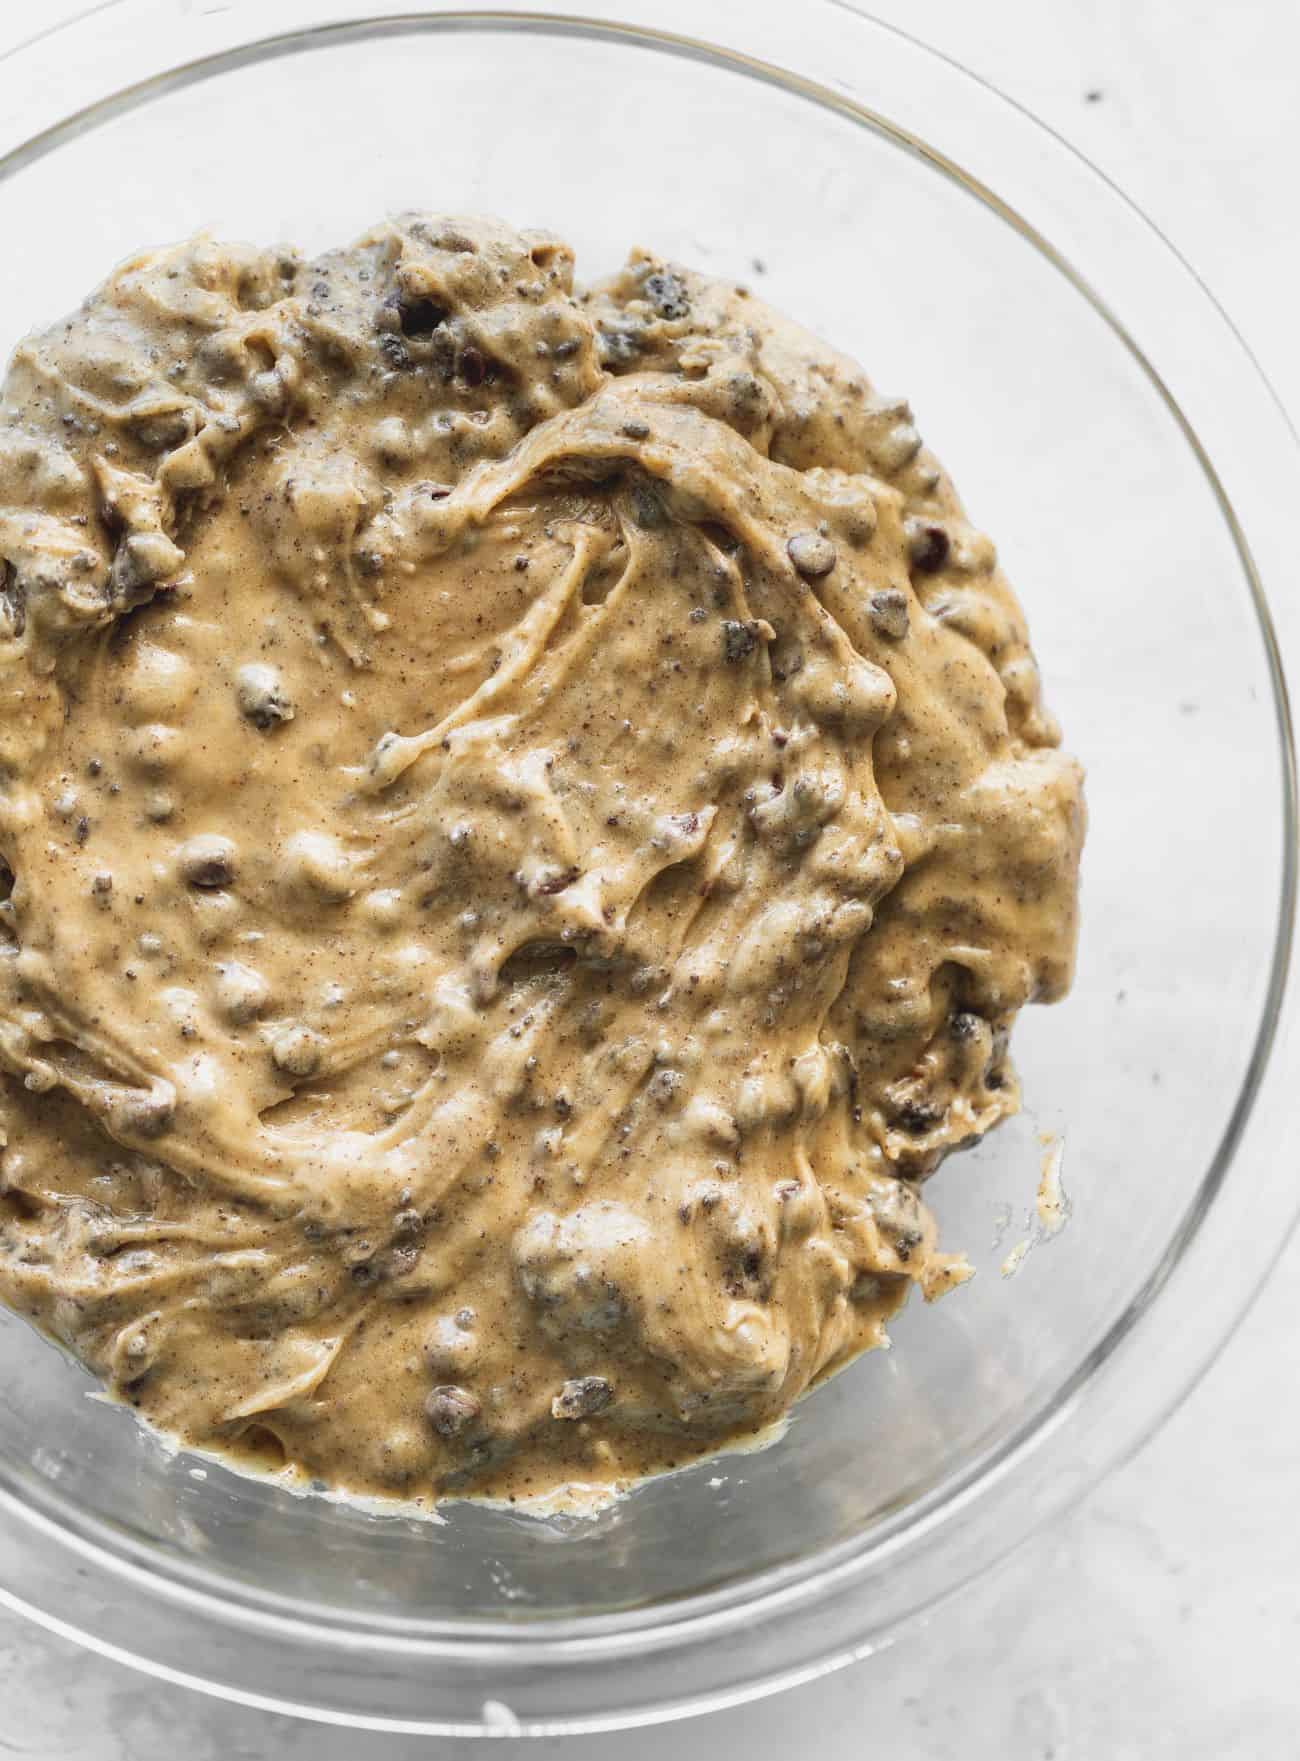
STEP 3: Mix the dry ingredients together. Next, whisk the browned butter and both sugar together. Then, add in vanilla, eggs, and egg yolks. It should be light and creamy.
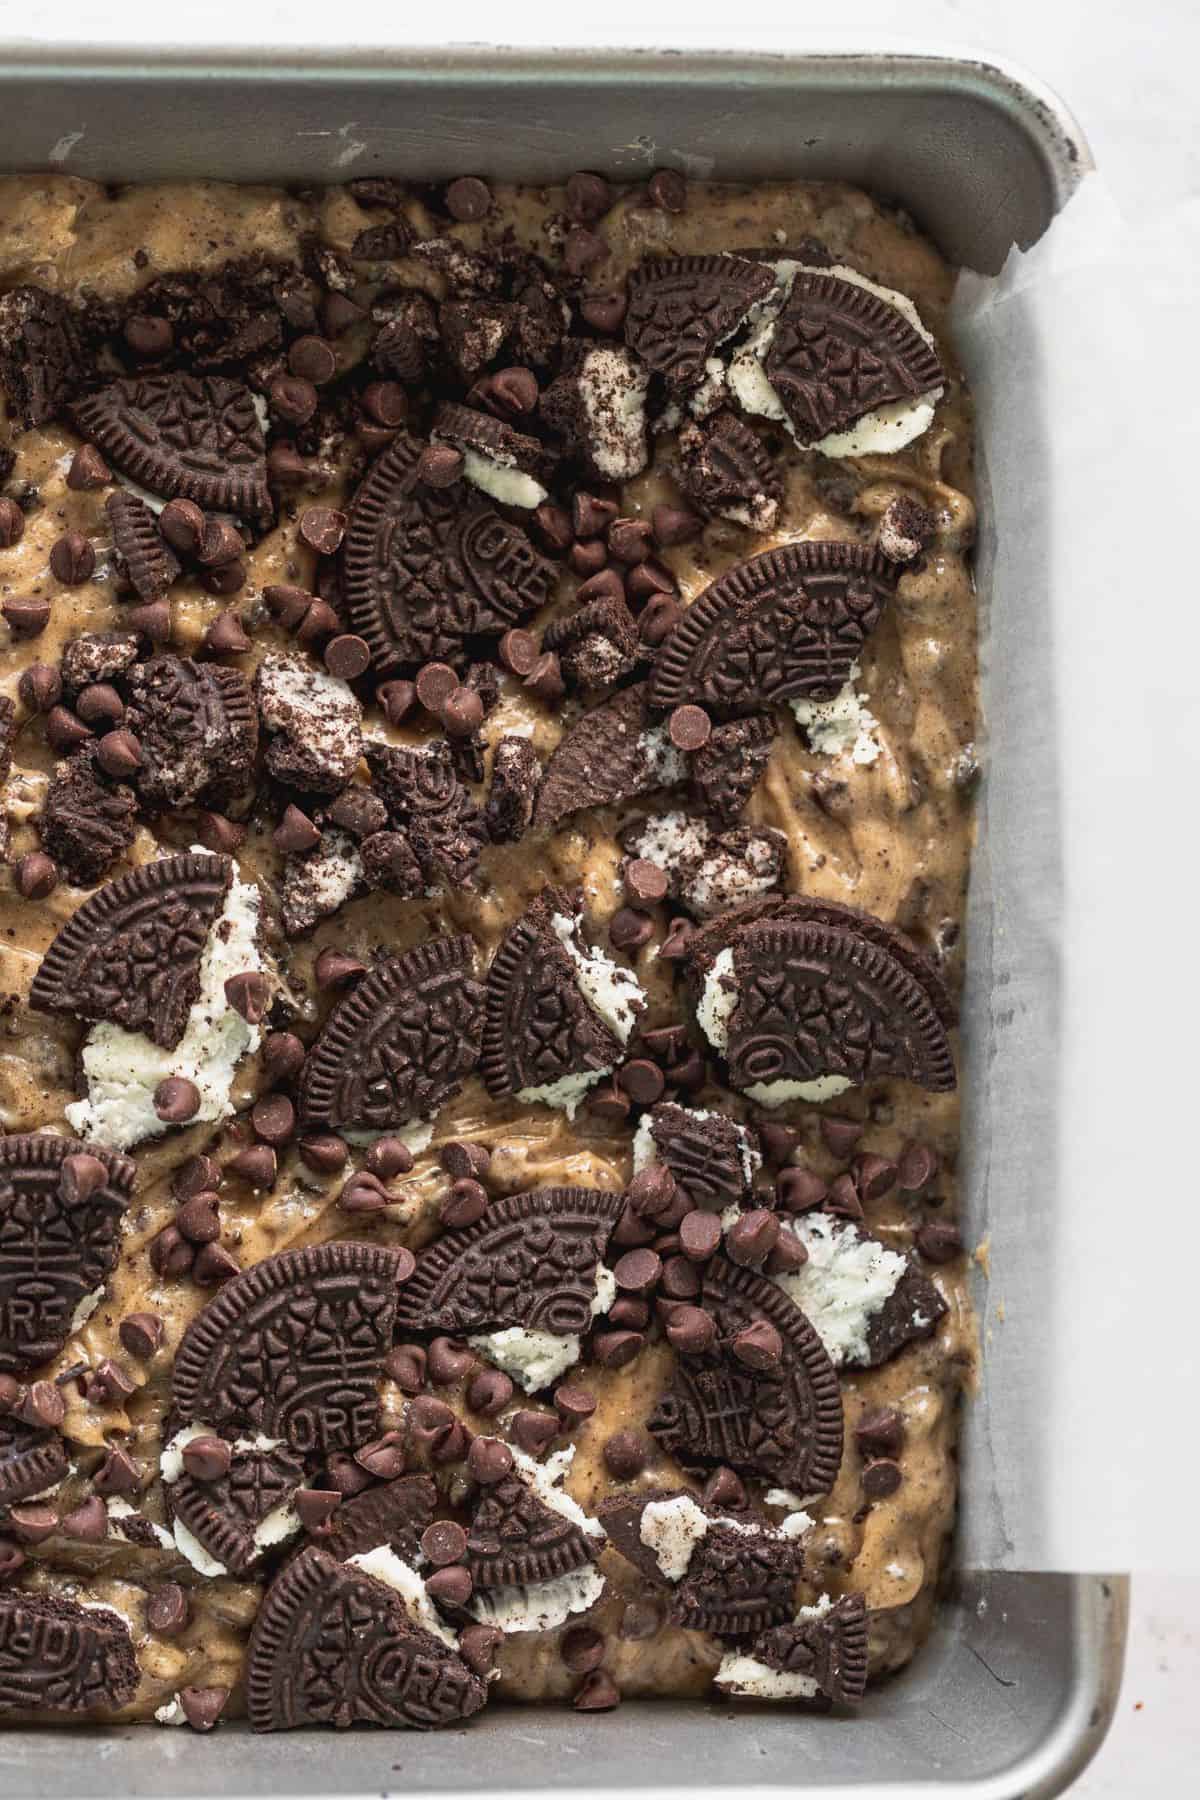
STEP 4: Add in the dry ingredients. Once mixed, add in the Oreos and mini chocolate chips. Once all combined, pour into an 8X8 pan. Top with extra chocolate chips and Oreo pieces.
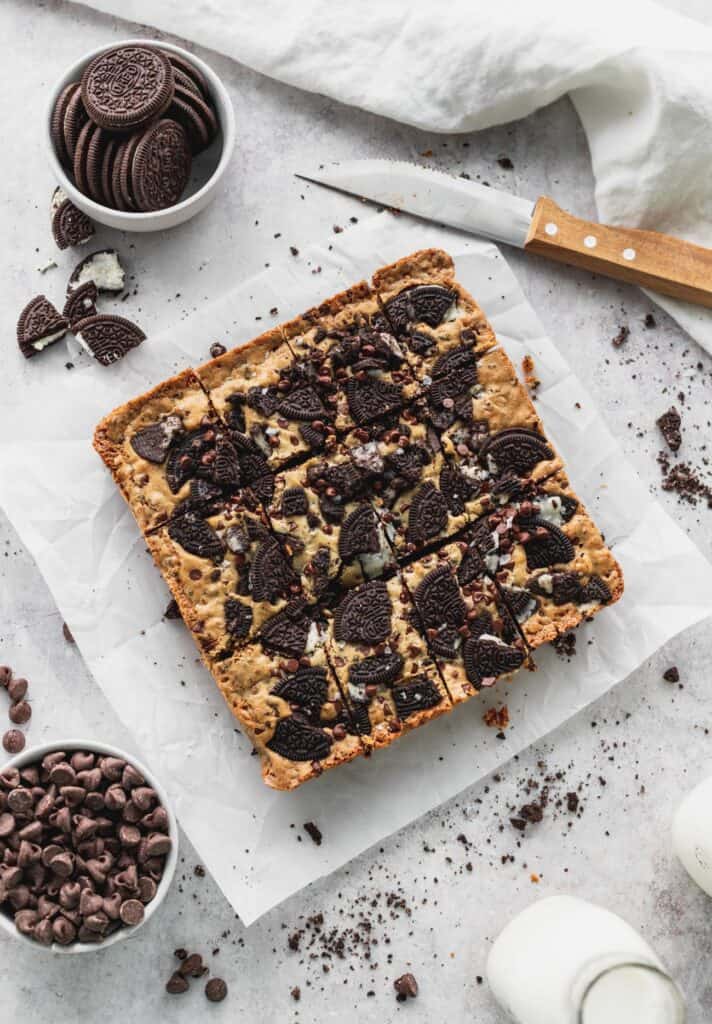
STEP 5: Bake for 30-40 minutes. Place the pan on a cooling rack, then let it cool completely before cutting and serving.
Baking Tips
When you are making the brown butter, it will go by faster and easier if you use a large frying pan. A large pan can brown the butter with more surface area.
Melt the brown butter first. Then, it start to bubble. Once it starts to foam up, watch it carefully. It can go from regular, to browned, to burnt very easily.
Once the butter is foaming a lot and you can't see the bottom, whisk quickly. Once the milk deposits separate it will turn amber quickly.
Subsitutions
- Regular butter- You can use regular butter instead of browned. Use 2 regular eggs and 1 egg yolk if using regular butter.
- Oreos- You can use any flavor Oreo or even any cookie. Nutter butters or animal crackers would taste great with it!
- Mini chocolate chips- You can use any type of chocolate chip. I strongly recommend not using milk chocolate. That would be too sweet.
FAQ
No, please use the 2 eggs and 2 egg yolks. The reason is because with the reduced water from the browned butter, it needs the extra fat from the yolk. Also, egg yolks help make for a fudgier blondie.
I haven't recipe tested this. I don't suggest making this with no eggs.
I have not recipe test this. However Bob's Red Mill 1:1 gluten free flour should work.
Storing and Freezing
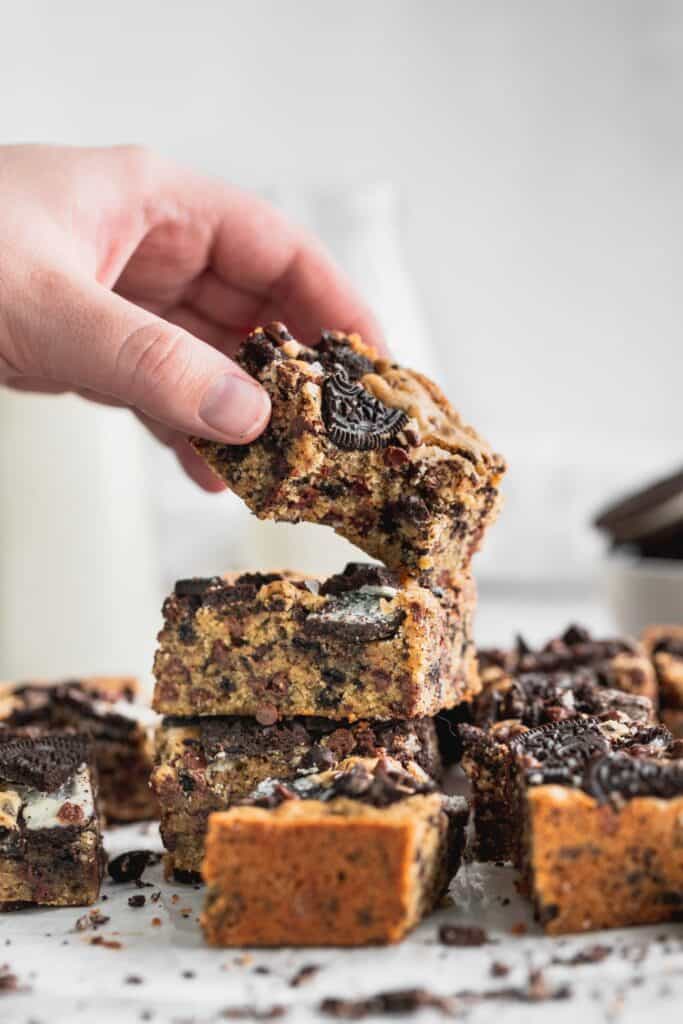
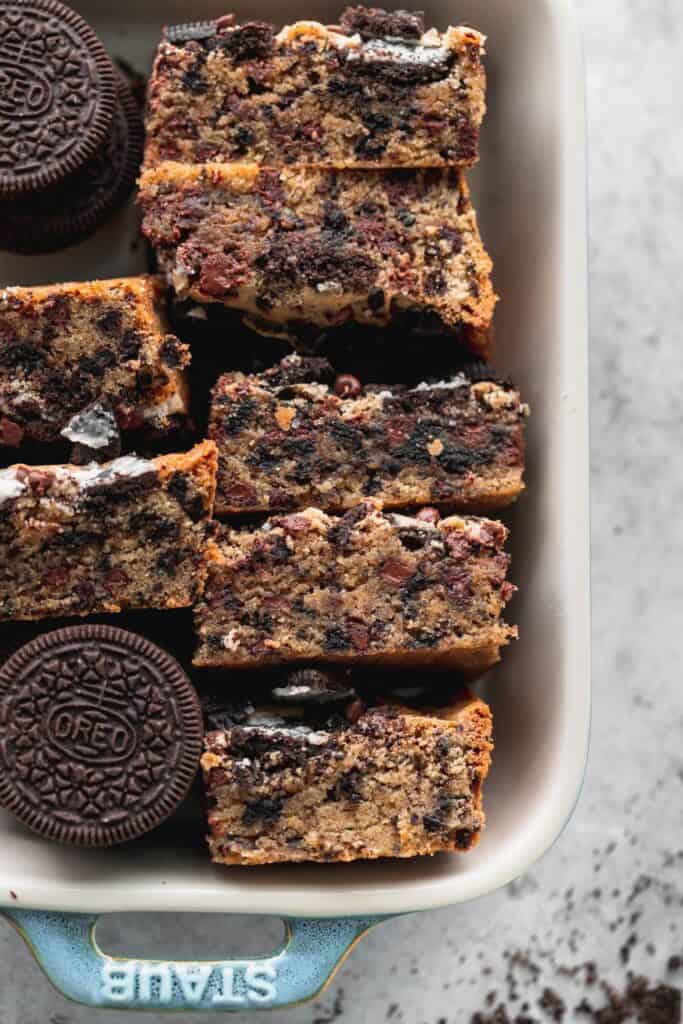
These Oreo blondies should be stored at room temperature in an airtight container. They will last up to 4-5 days.
Freezing
Freeze these blondies individually by wrapping cling wrap and storing in an airtight container. They will last up to 30 days in the freezer.
Let the blondies sit on the counter for 2 hours before eating. They are best slightly warm. Feel free to warm slightly in the microwave.
Other Bar Recipes To Try
Make sure to leave me a star review below!
Make sure to tag me on Instagram @stephaniesweettreats. I hope you loved it! To get more ideas follow me on Pinterest.
📖 Recipe
Oreo Blondies
Ingredients
- ½ cup Unsalted butter browned
- ½ cup Brown sugar packed light or dark
- ½ cup White granulated sugar
- 1 teaspoon Pure vanilla extract
- 2 Large egg cold
- 2 Egg yolk cold
- 1 cup All-purpose flour
- ¼ teaspoon Salt
- 1 cup Chopped Oreos
- ½ cup Mini chocolate chips
Instructions
- Preheat oven to 325°F. Spray an 8x8 pan with baking non-stick spray. Line the bottom and 2 sides of the pan with parchment paper. Spray again.
- Place butter in a frying pan over medium heat. Let the butter melt. Use a whisk to keep whisking. First it will bubble, then it will foam up. Once it starts to foam keeping whisking until the milk deposits separate from the butter. Keep whisking until the butter browns slightly. Take off heat and keep stirring for 1 minute. This process takes about 10 minutes.
- Pour butter into a glass measuring cup and let it cool for 15 minutes before using. Make sure to use all the brown flecks at the bottom of the pan because this is where the flavor is!
- In a mixing bowl, sift the flour and salt together. In a separate bowl, mix the browned butter, brown sugar, and white sugar together using a whisk. Add in the vanilla, egg, and egg yolk. Mix until combined.
- Add in the dry ingredients. Mix until combined. Add in the chopped Oreos and mini chocolate chips. Use a rubber spatula and fold it in.
- Pour batter into the pan. Top with additional Oreos and mini chocolate chips. Bake for 30-40 minutes. Let it cool completely before eating.

Jen says
Baked these today and they're absolutely scrumptious! First time browning butter, so I was a little anxious but the instructions given were so straightforward and easy to follow through. Love that the crackly top provided the perfect crunch and crispness before your teeth sinks into fudgey goodness. Recipe's worth revisiting!
Natalie says
Absolutely loved this recipe! Cakey, chewy, fudgy texture, just how I like them!
Lynn says
These were so easy to make & tasted amazing. I'll make these again. The brown butter us the key!
Cecilia says
Hi Stephanie!
I vaganized your recipe and the result was really goog! Instead of eggs, I used aquafaba (exact amount in weight) and margarine instead of butter.
I browned the margarine but the taste was not the same as butter. Anyway, didn't matter to me.
I incorporated 1 tbsp of molasses, and it worked perfect!
Stephanie, your blog is incredible and I will continue veganizing your recipies! XD XD XD
Regards from Buenos Aires, Argentina!
Stephanie Rutherford says
I am so glad that turning these into vegan turned out so good for you!
Varsha Chavaan says
Hi! Is there a substitute for egg in the recipe?
Stephanie Rutherford says
I haven't tested this recipe with any egg substitutes. You can try using 3/4 cup of applesauce which is a common egg substitution. Let me know how to turns out!
Tricia says
hello! this recipe looks amazing (: for the browned butter, do i brown 1/2 cup of it, and then use whatever it yields (as i understand butter loses 20% of its weight when browned), or do i need to ensure that the total browned butter weight adds up to 1/2 cup? thank you!
Stephanie Rutherford says
Hello! I took 1/2 cup of butter and browned and used it almost right away. The pic of the brown butter is exactly how much I had after browning it.
Daniella says
Looks insane! Can’t wait to try!!!
Out of curiosity why should the eggs be cold?
Stephanie Rutherford says
When I make my regular fudgy brownies, the cold eggs helps to give it a more fudgy texture. I wanted it to be the same with these blondies. So you don't have to wait for the eggs to get to room temperature.