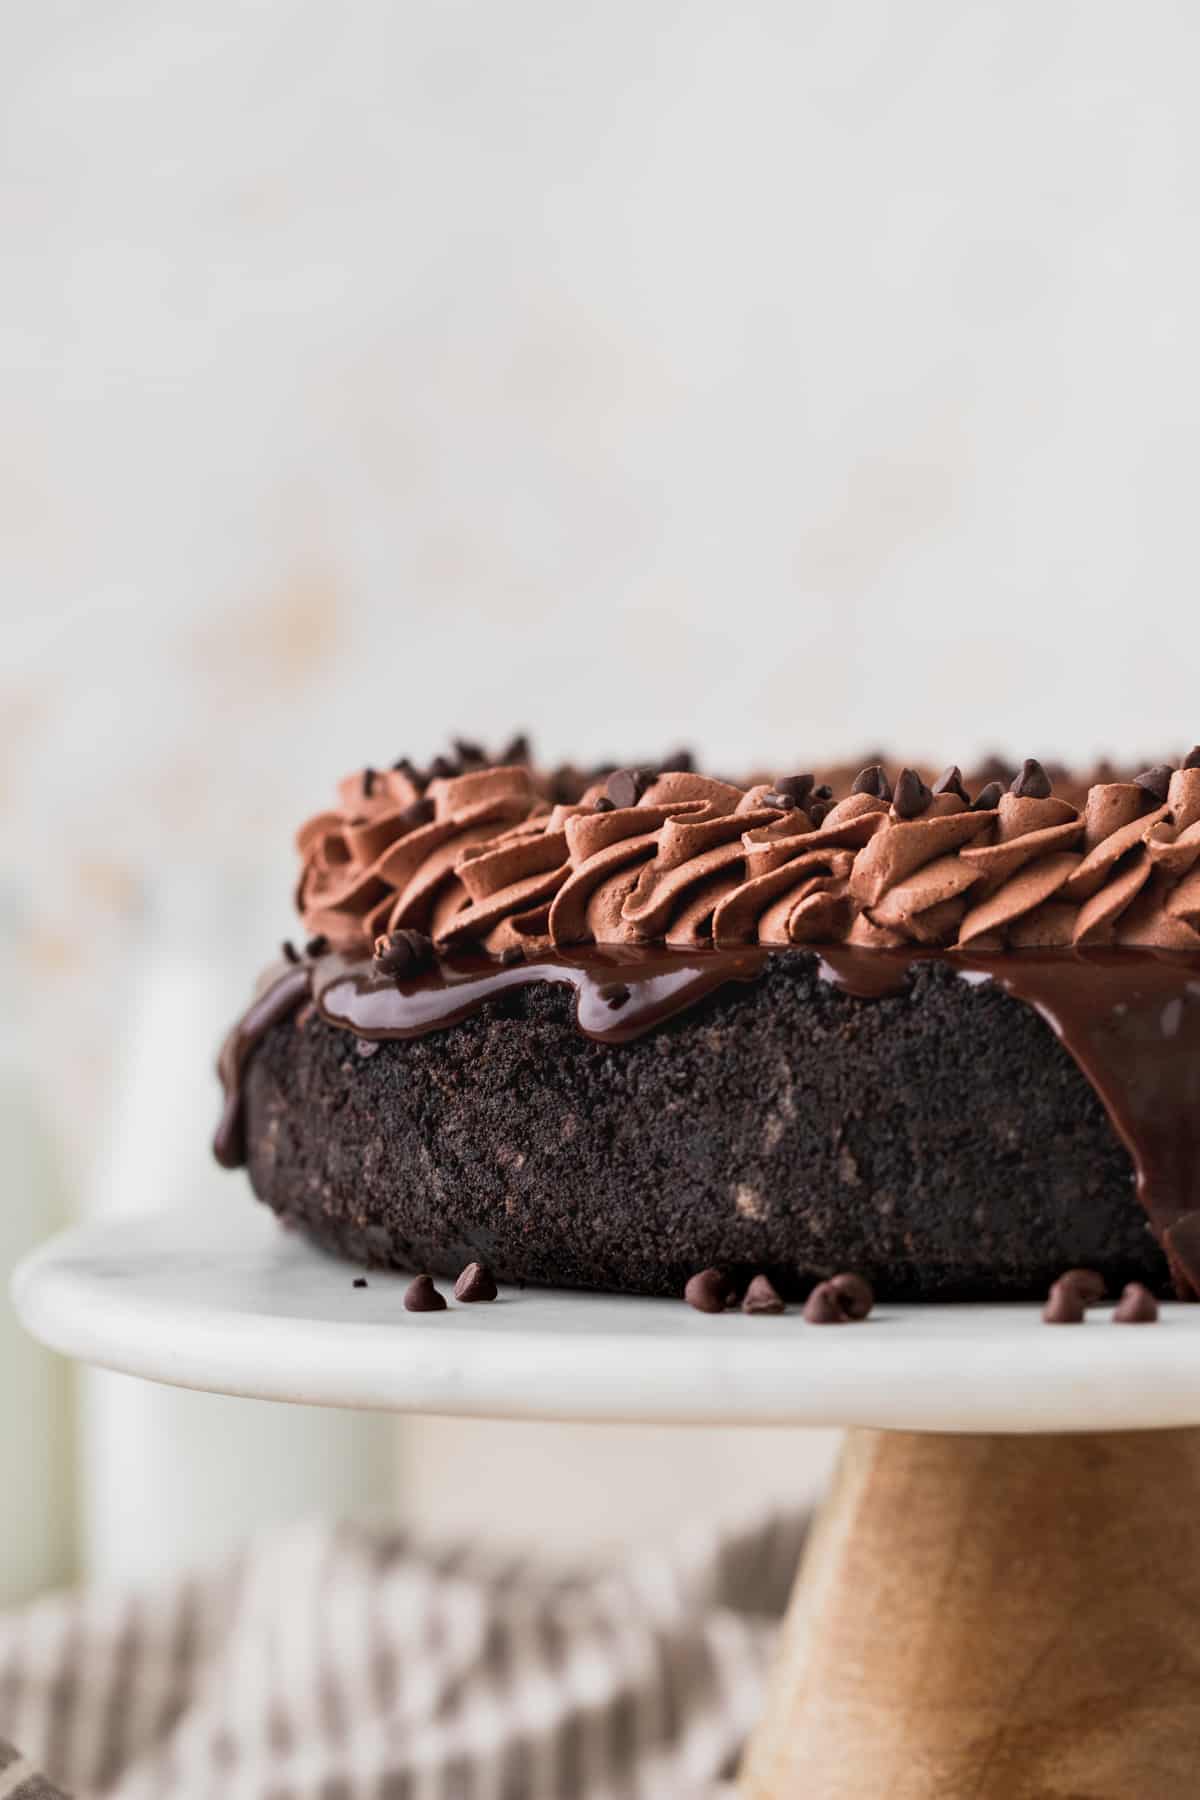
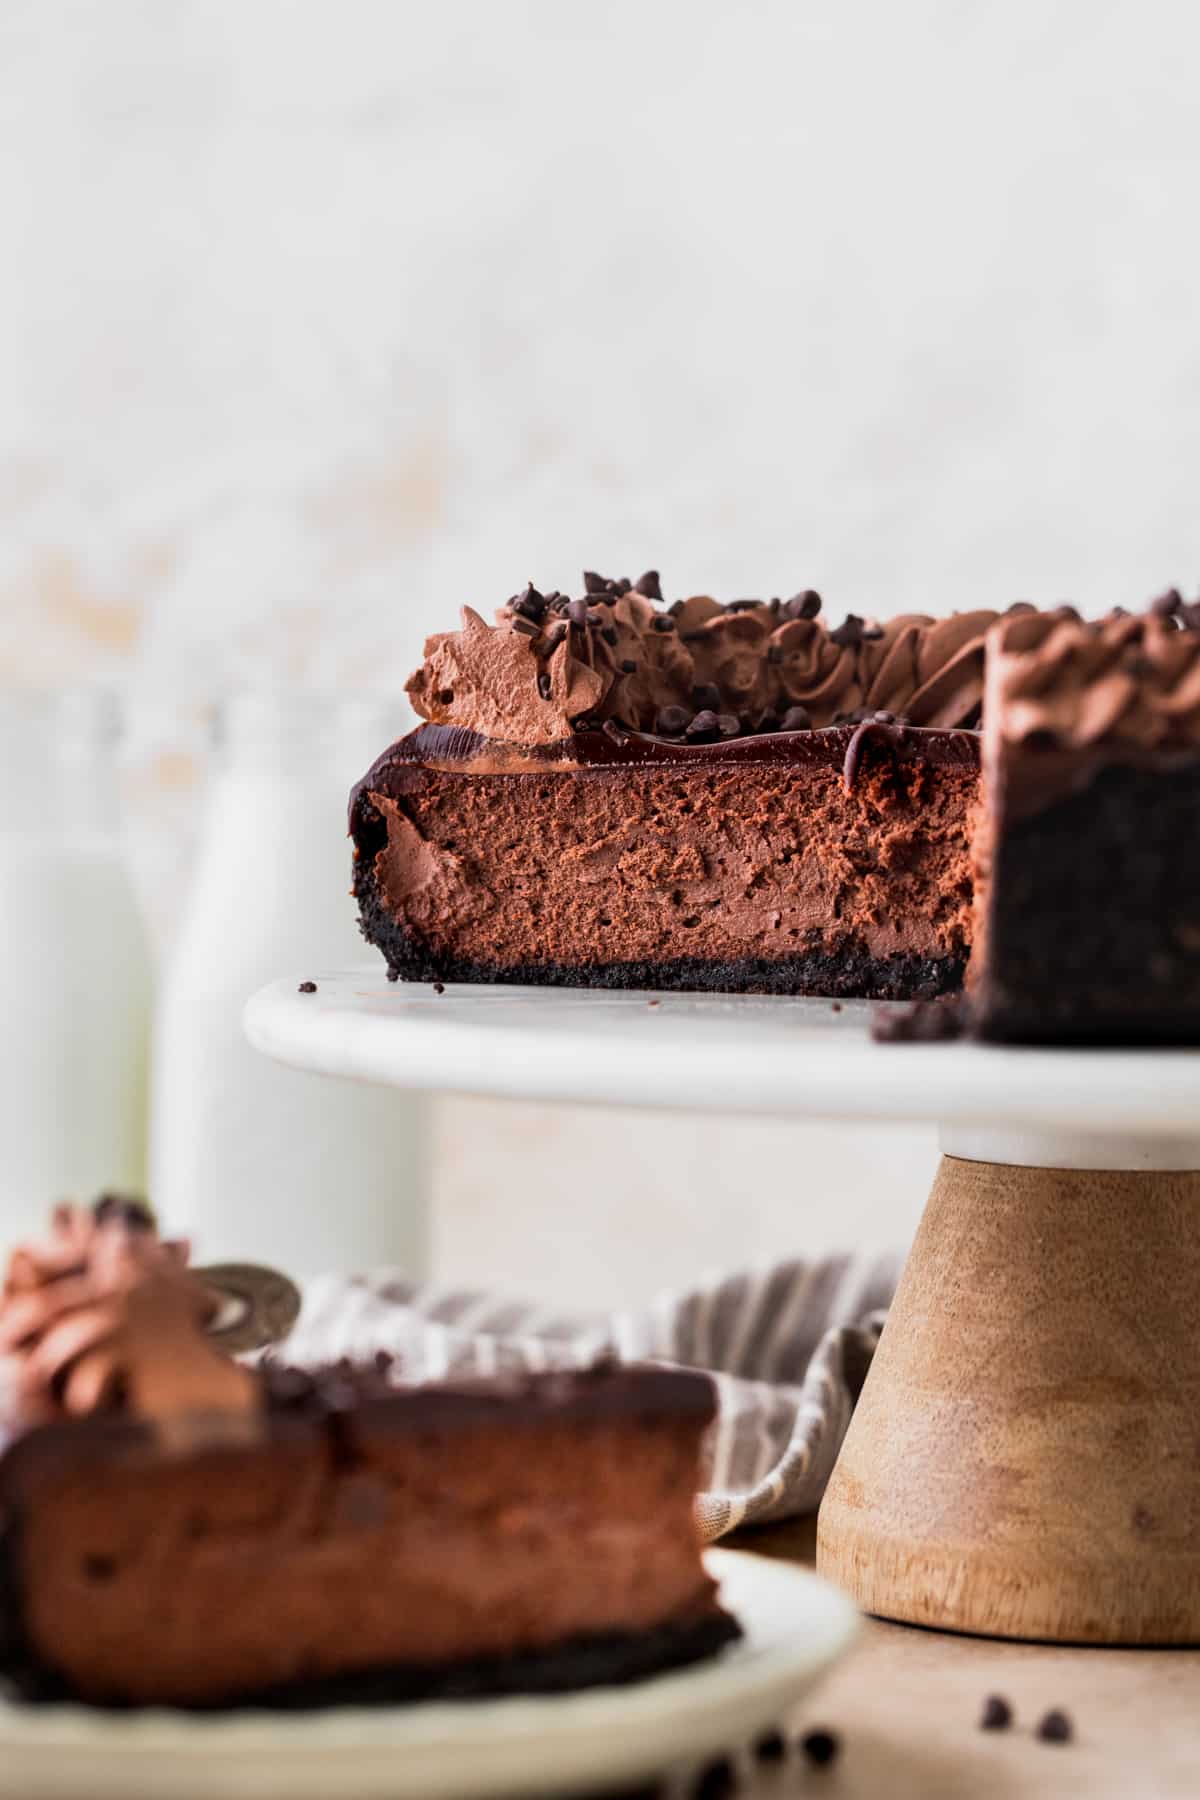
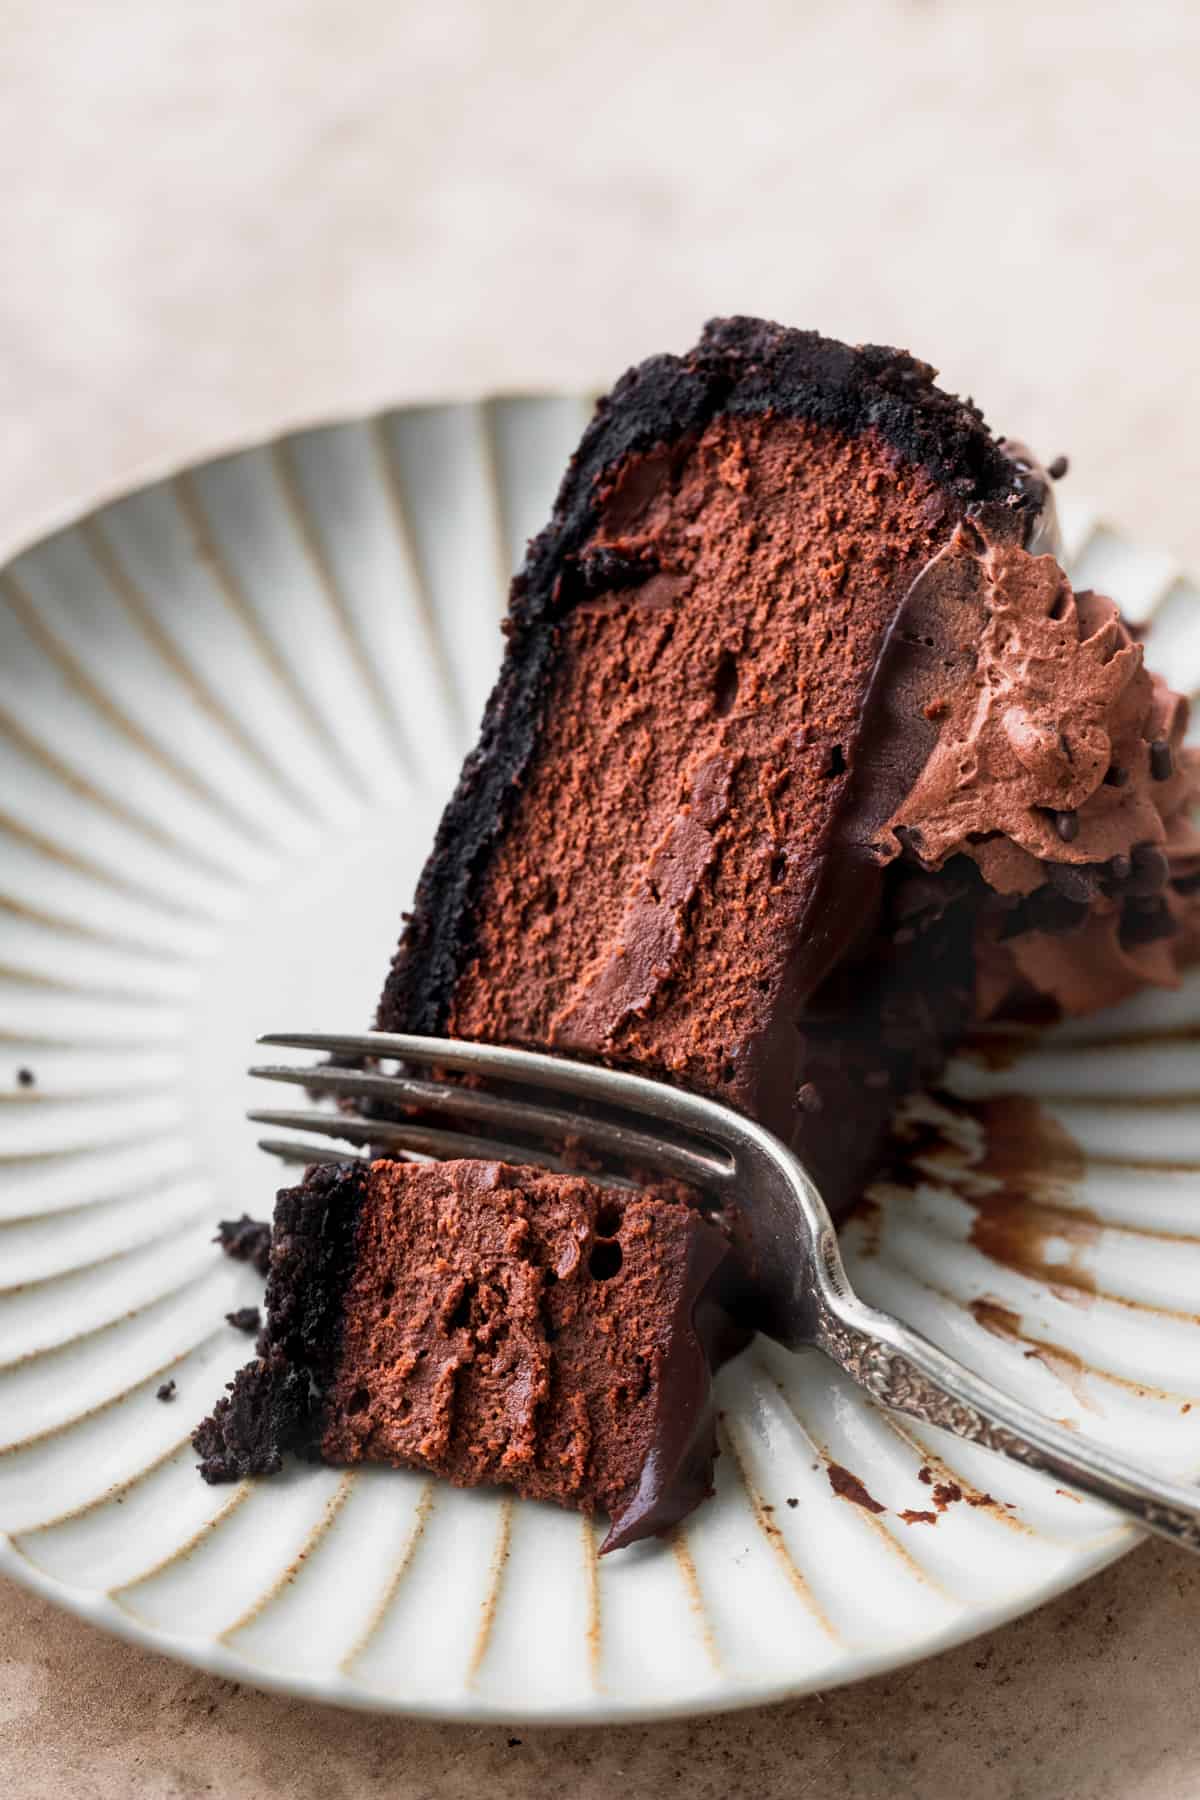
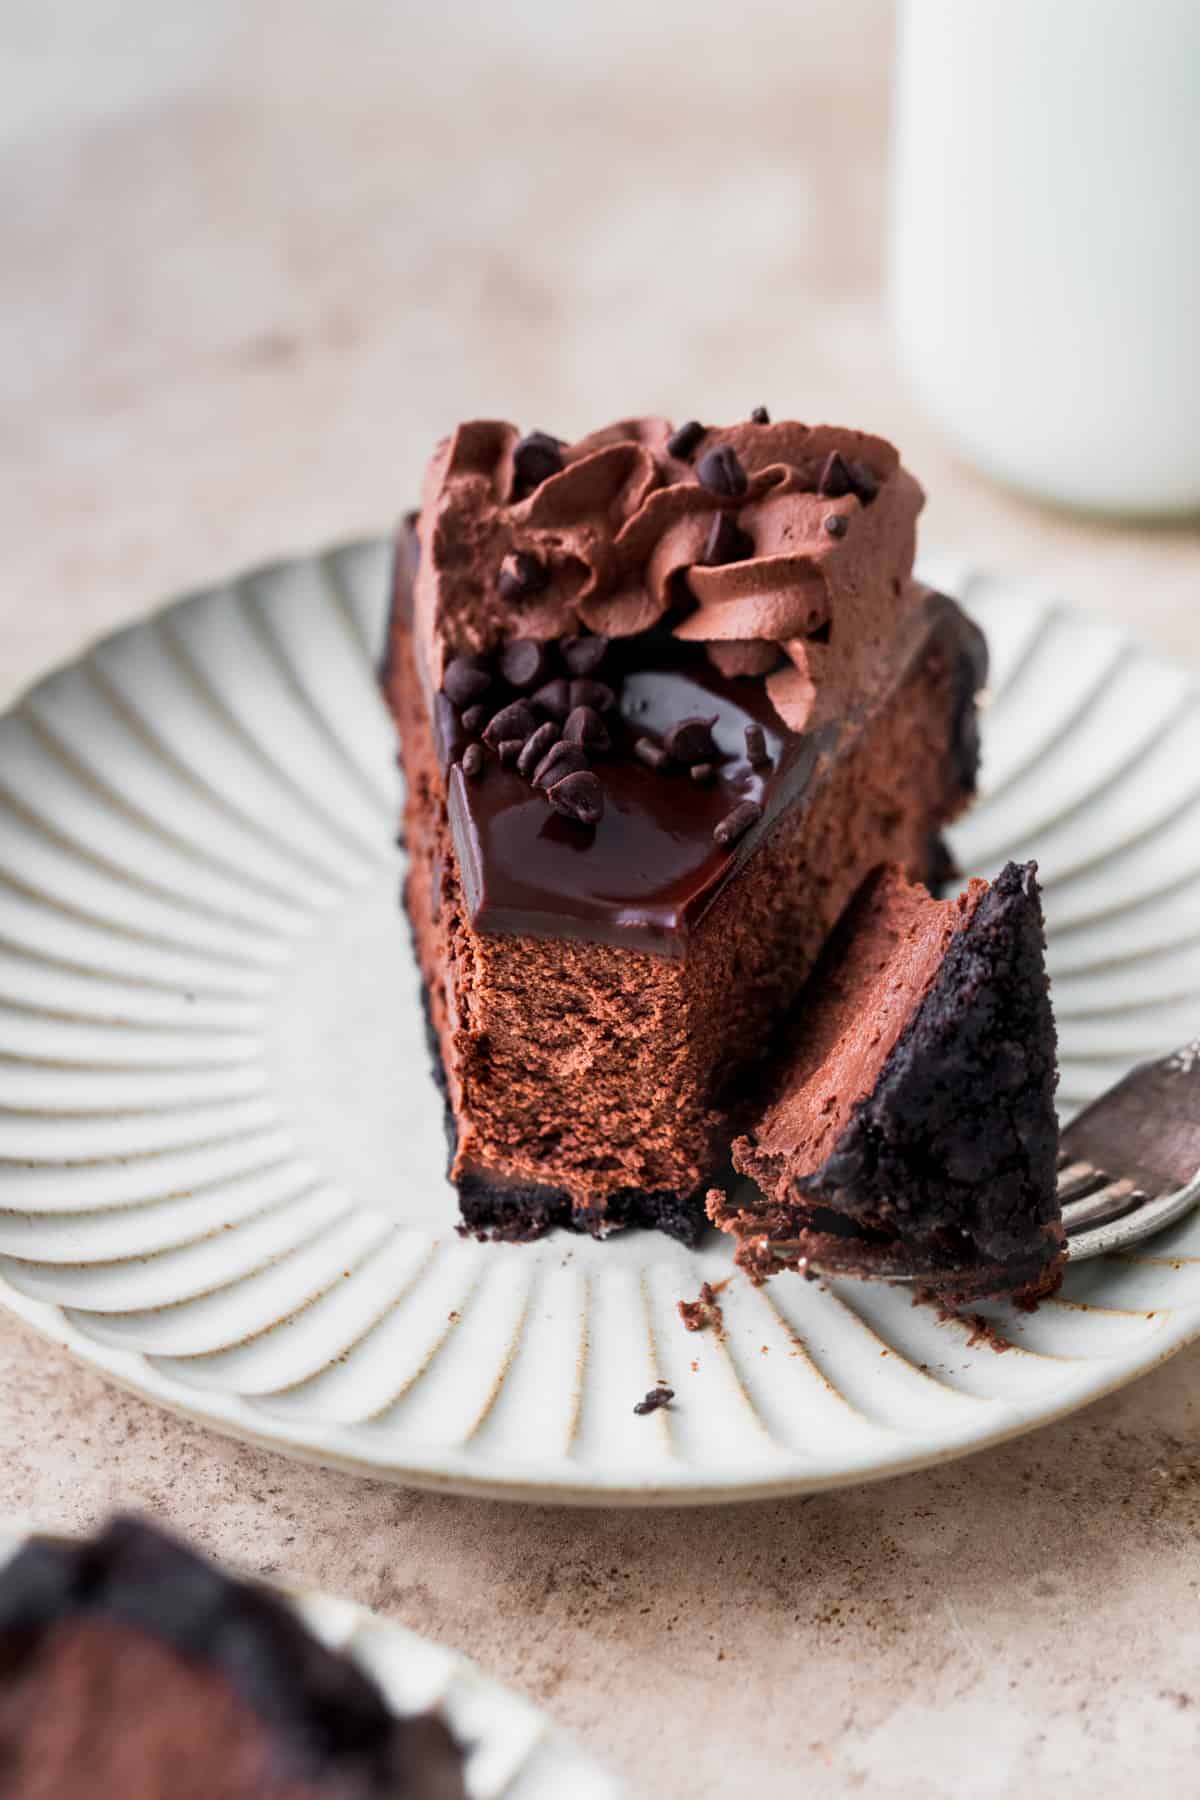
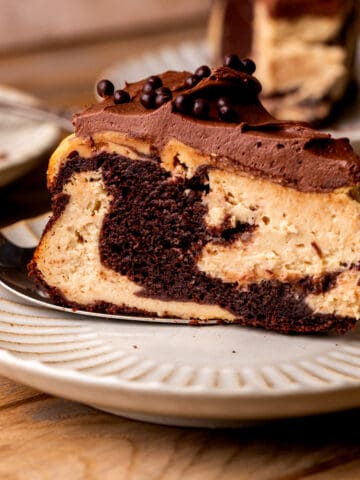
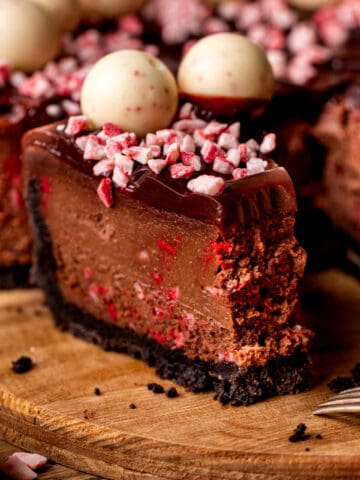
This triple chocolate cheesecake actually has four layers of chocolate! It is made with an Oreo crust, creamy baked chocolate cheesecake, chocolate ganache, and chocolate whipped cream. You will need a glass of milk to go with this cheesecake! It is the definition of indulgence, but it is worth every bite!
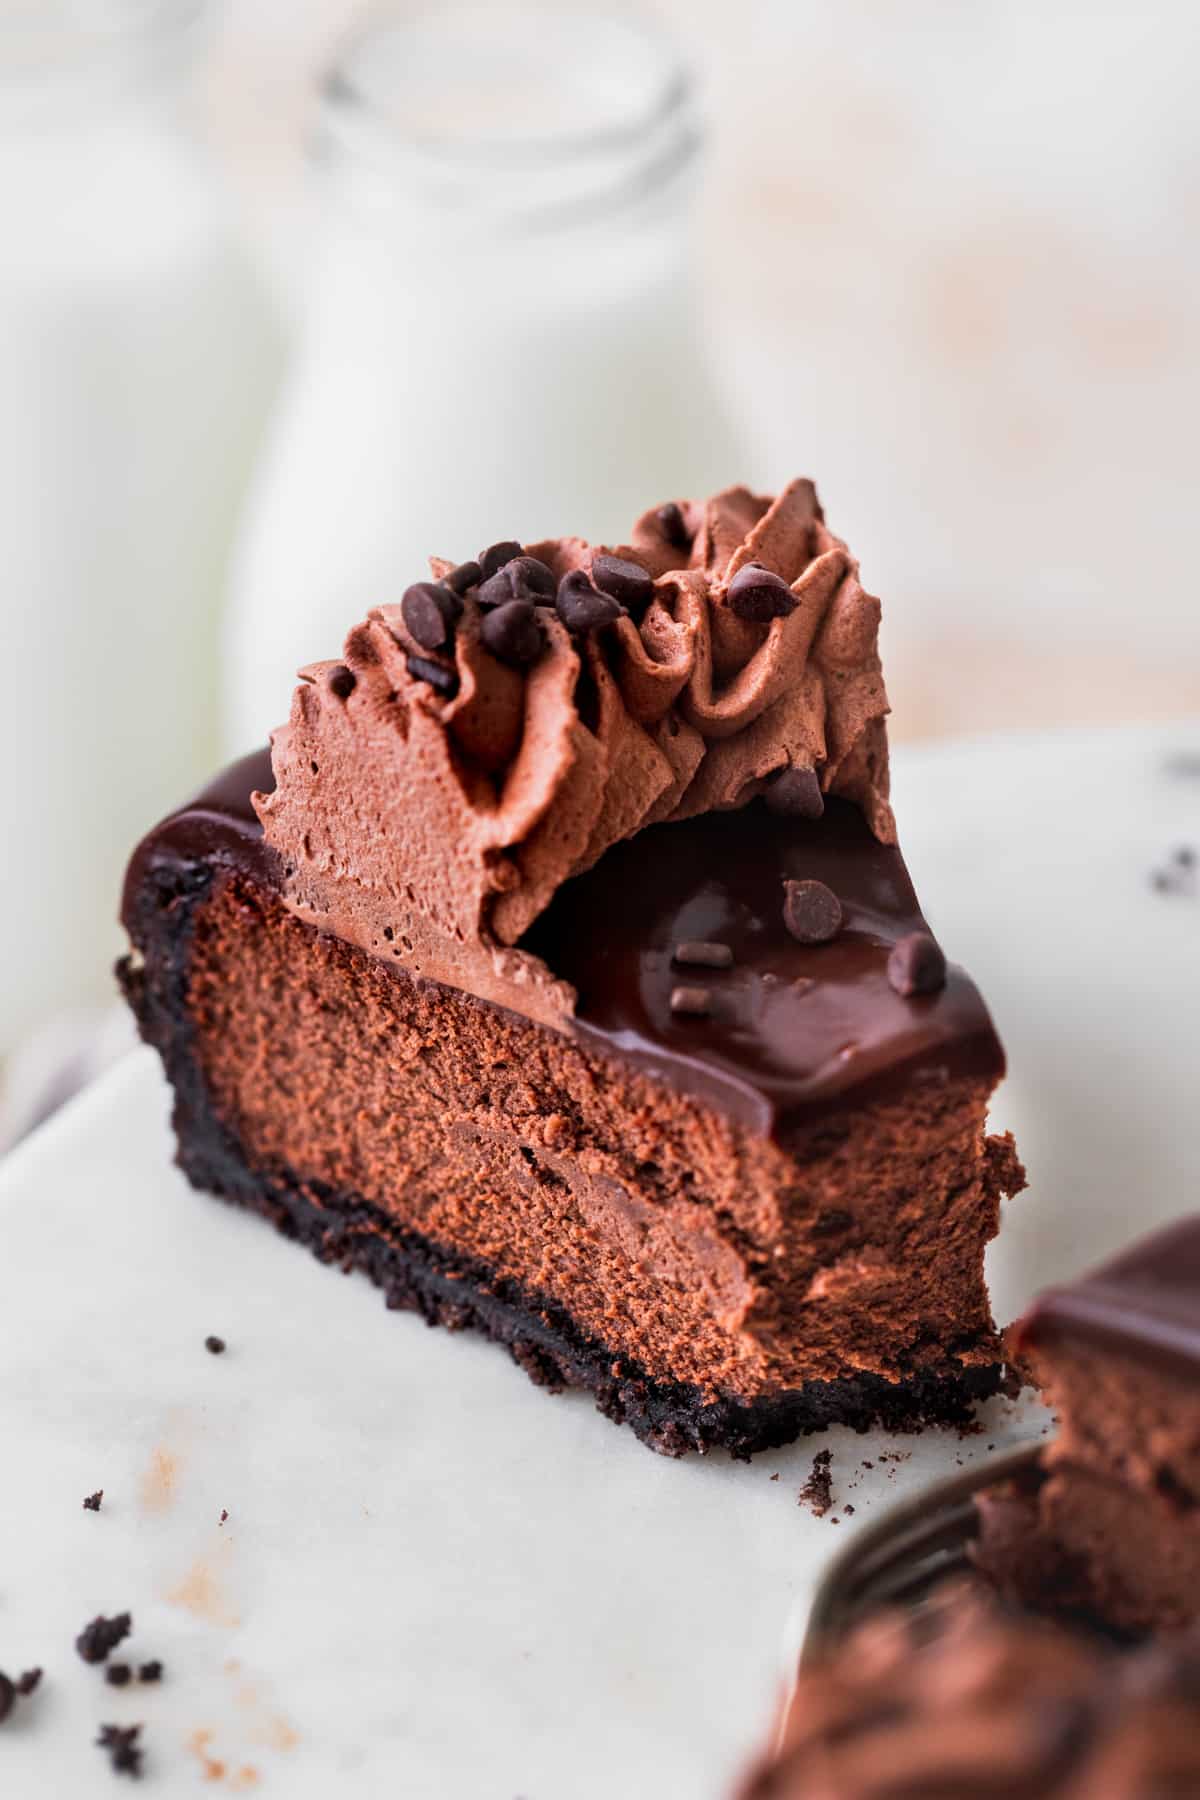
This triple chocolate cheesecake has been around my blog for awhile, but it got a new look! This has been my go to chocolate cheesecake recipe because it is so creamy and rich.
If you are looking for more chocolate recipes, try chocolate covered strawberry cake, layered blueberry chocolate cake, no bake chocolate cheesecake.
Why You Will Love This
- Oreo crust- Since this is a chocolate cheesecake, it needs an Oreo crust. It is made with the Oreo filling intact.
- Baked chocolate cheesecake- This cheesecake is baked with a dutch process cocoa powder to give it a deep rich chocolate flavor.
- Chocolate ganache- The cheesecake is topped with a silky chocolate ganache.
- Chocolate whipped cream- This pulls the whole cheesecake together. The whipped cream is creamy and has a light chocolate flavor.
Ingredient Notes
- Oreos- Use regular Oreos. Do not use double stuff Oreos because there will be too much cream.
- Cream cheese- Use full fat cream cheese. Pull this out 2 hours before baking.
- Cocoa powder- This is the one I used. I prefer dutch process cocoa powder to give it a richer flavor.
- Sour cream- Use full fat sour cream. Pull this out 2 hours before baking.
- Heavy cream- Pull this out 2 hours before baking. (Only for the cheesecake.)
- Eggs- Pull this out 2 hours before baking.
Step By Step Instructions
Here is how to make and bake this cheesecake.
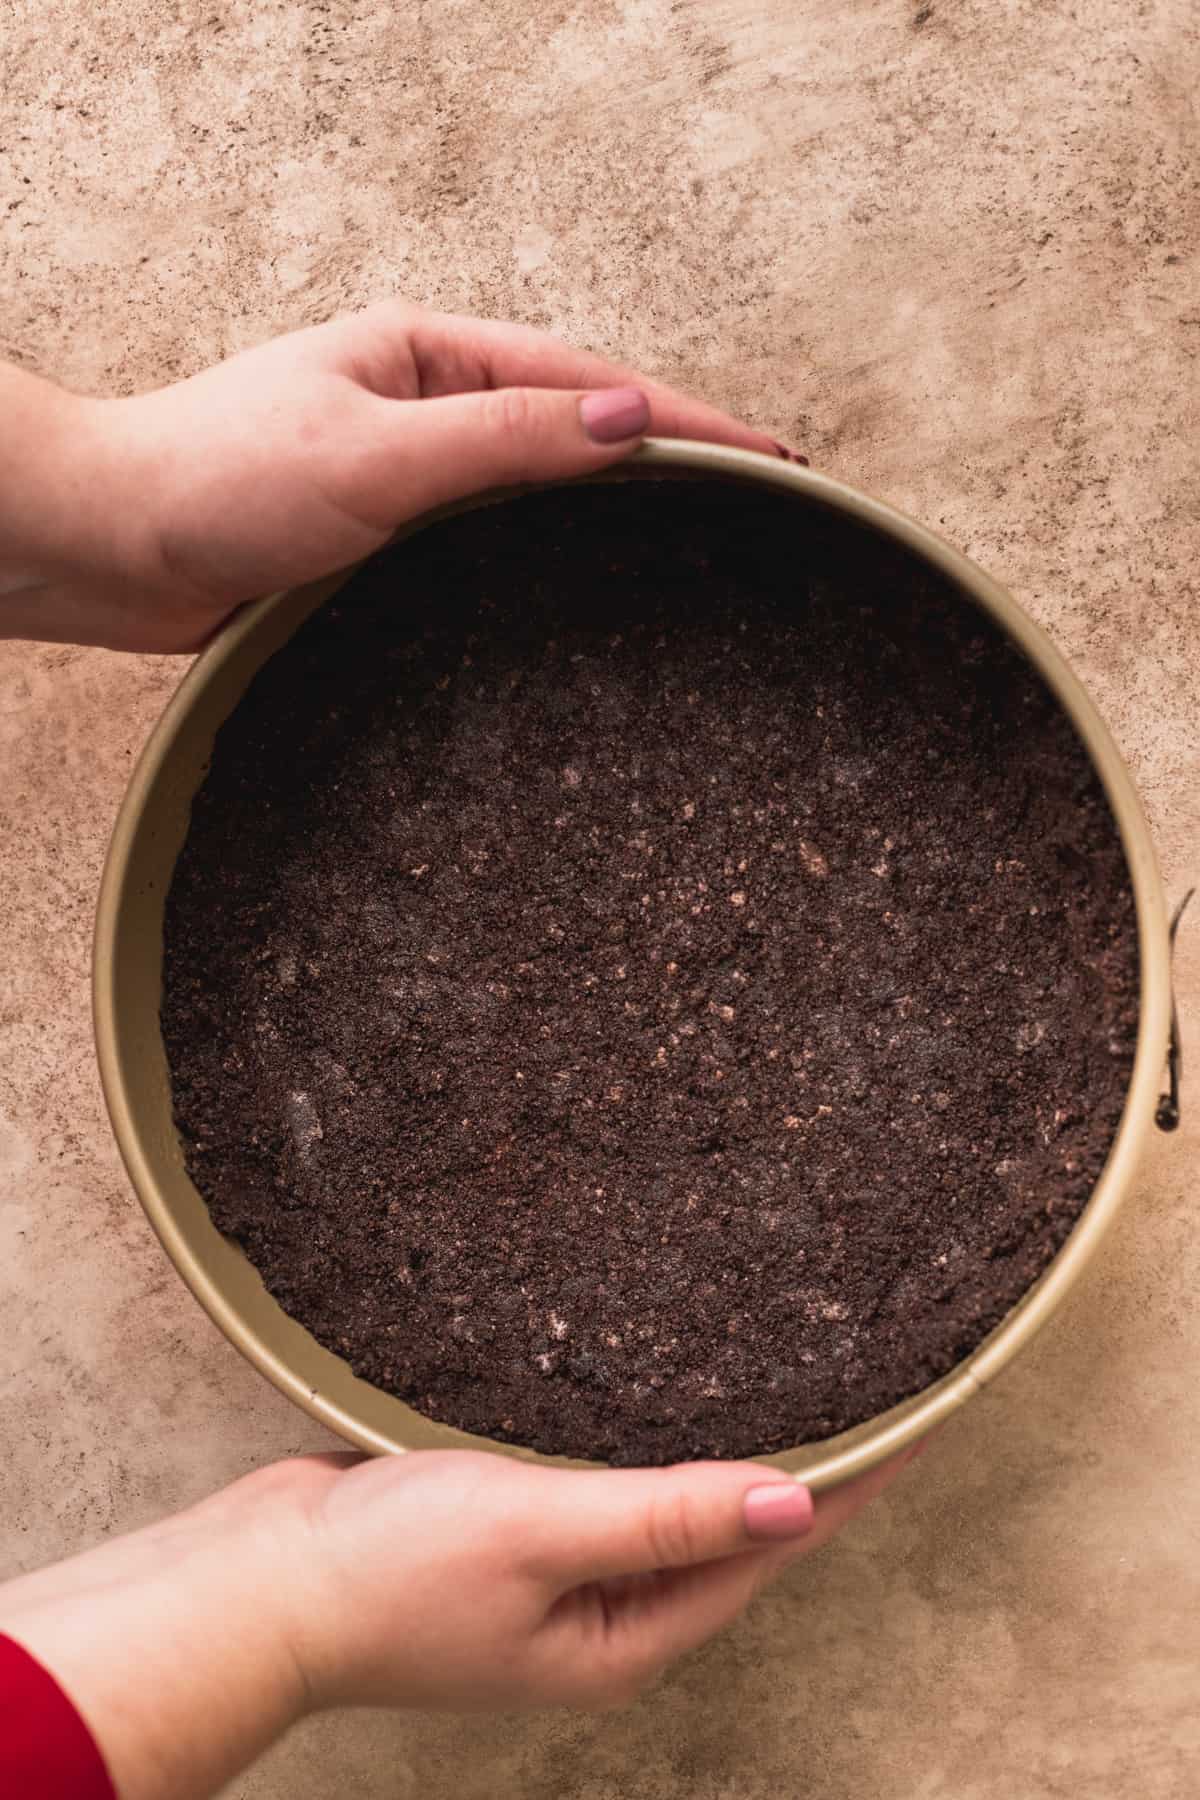
STEP 1: Oreo crust. First, blend the Oreos until a fine crumb forms. Mix with melted butter using a fork to blend.
STEP 2: Bake the crust. Pour the crumbs into the 9 inch springform pan. Push the crumbs halfway up the pan. Bake for 12 minutes.
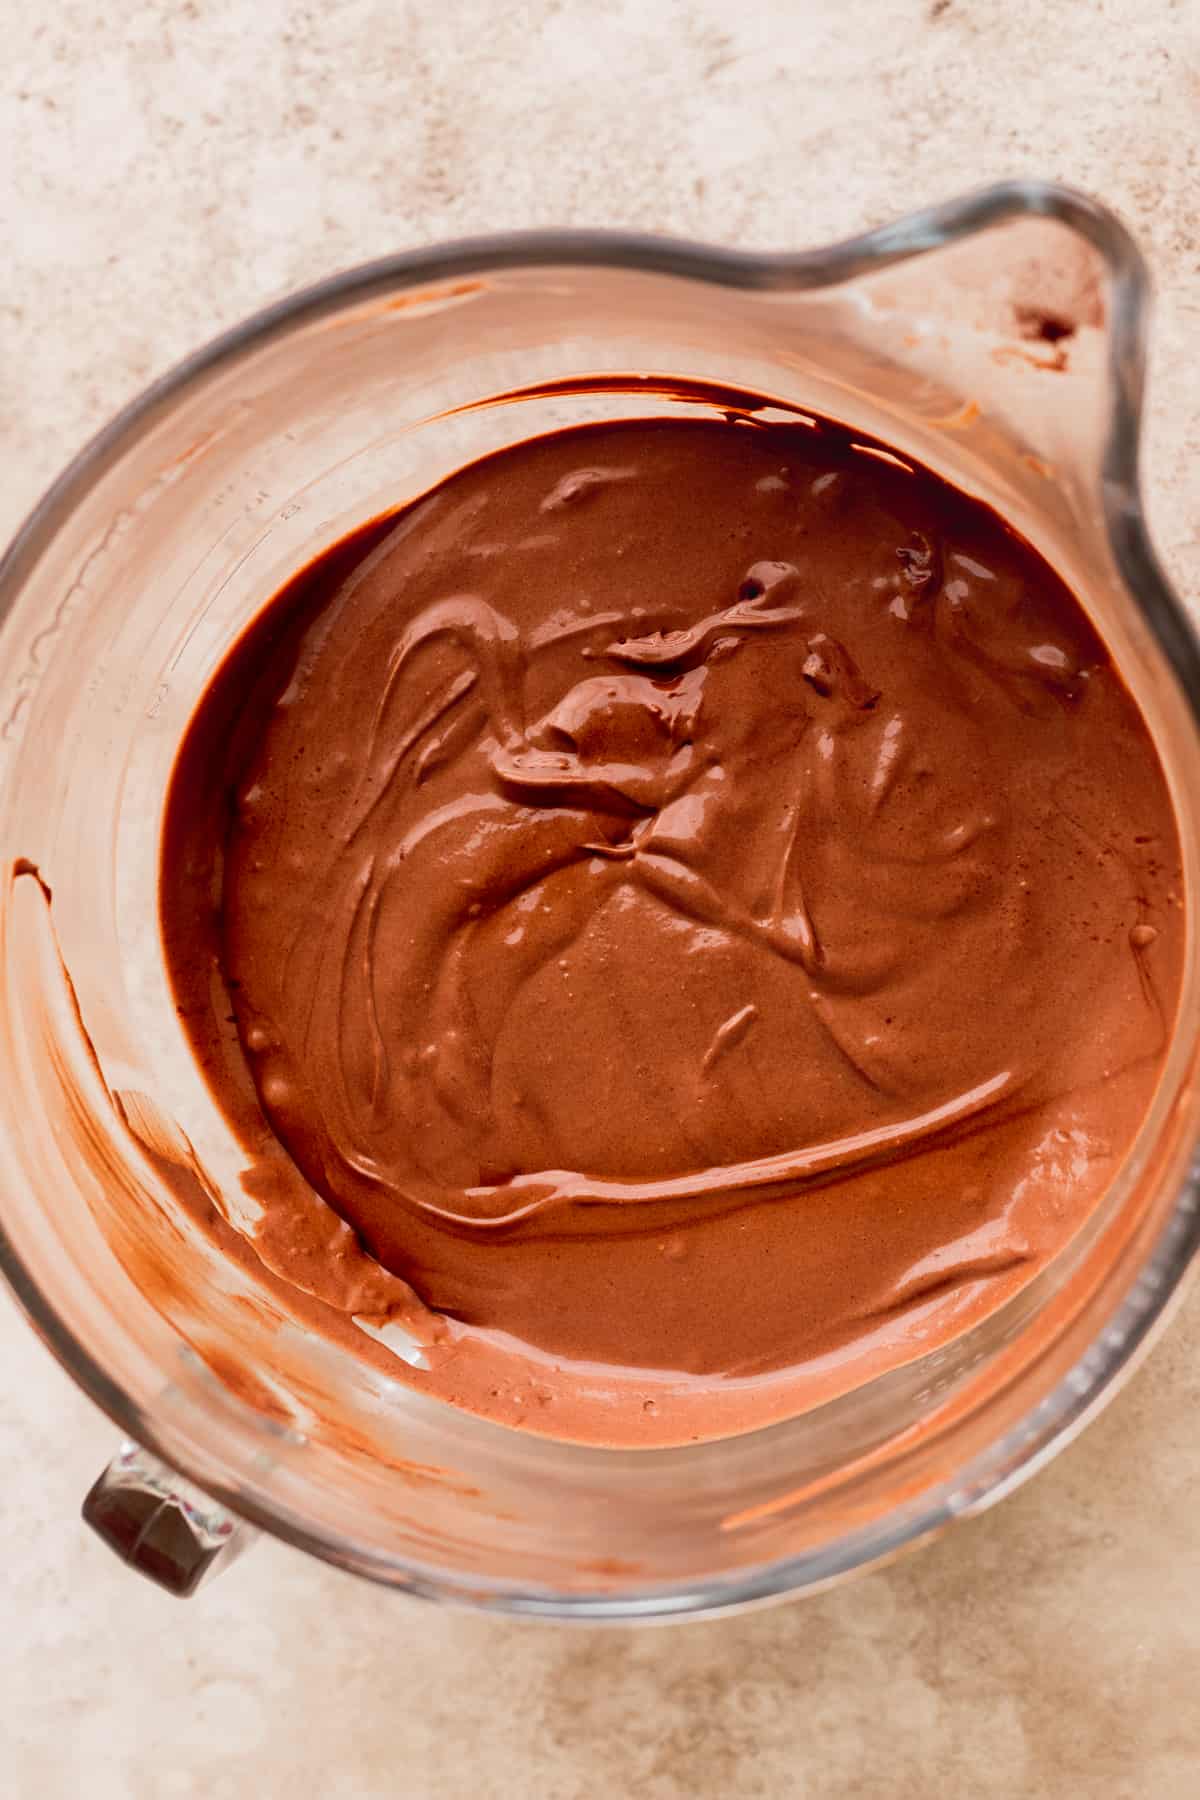
STEP 3: Beat the cream cheese. Use a mixer to beat on high to get smooth. Then, add in the sugar and cocoa powder.
Beat this until creamy and smooth. Make sure to scrape the bowl to get it all mixed together.
STEP 4: Add in wet ingredients. Next, add in the heavy cream, sour cream, vanilla, and eggs. See below for tips to prevent cracks.
STEP 5: Bake for 70-90 minutes. Bake the cheesecake until the middle has a slight jiggle. See below for water bath options.
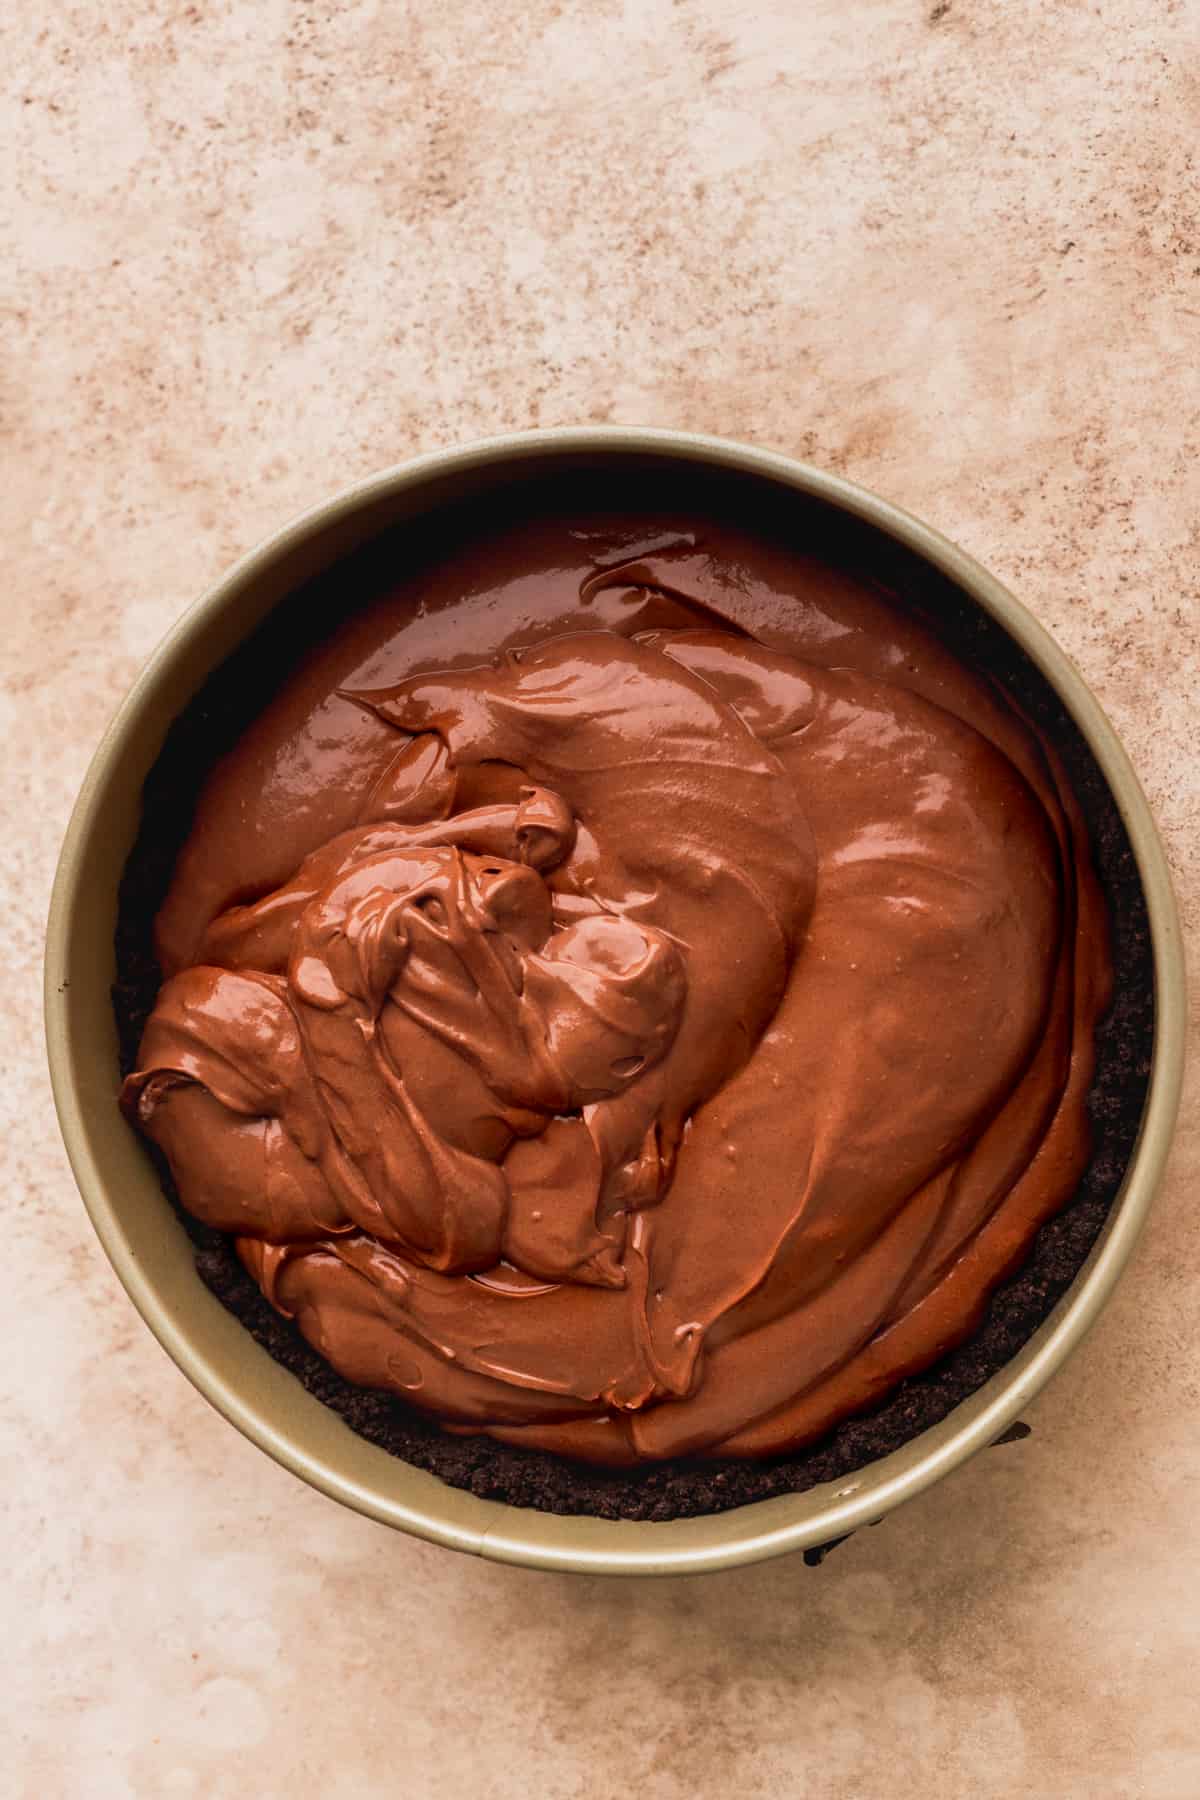
STEP 6: Cool overnight. The cheesecake is best chilled overnight. It needs at least 6 hours of chill time.
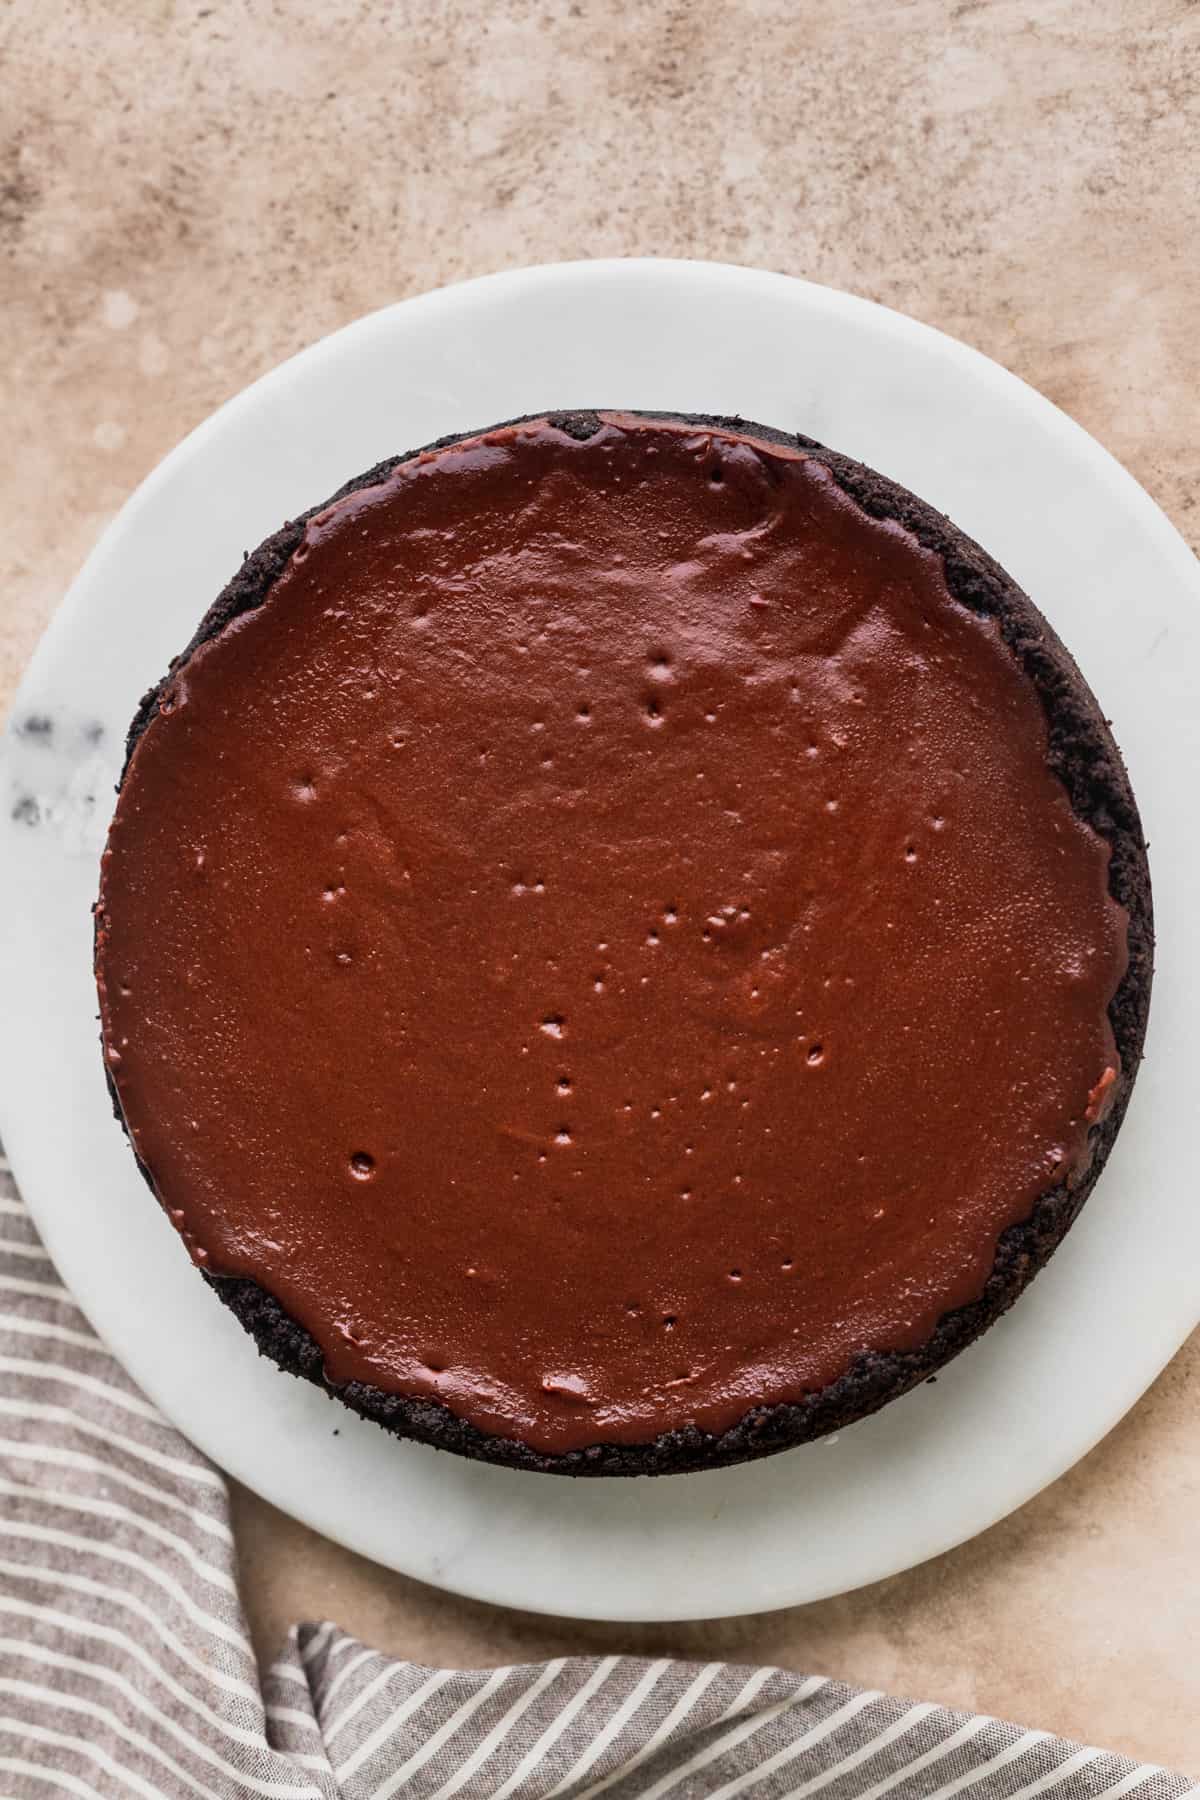
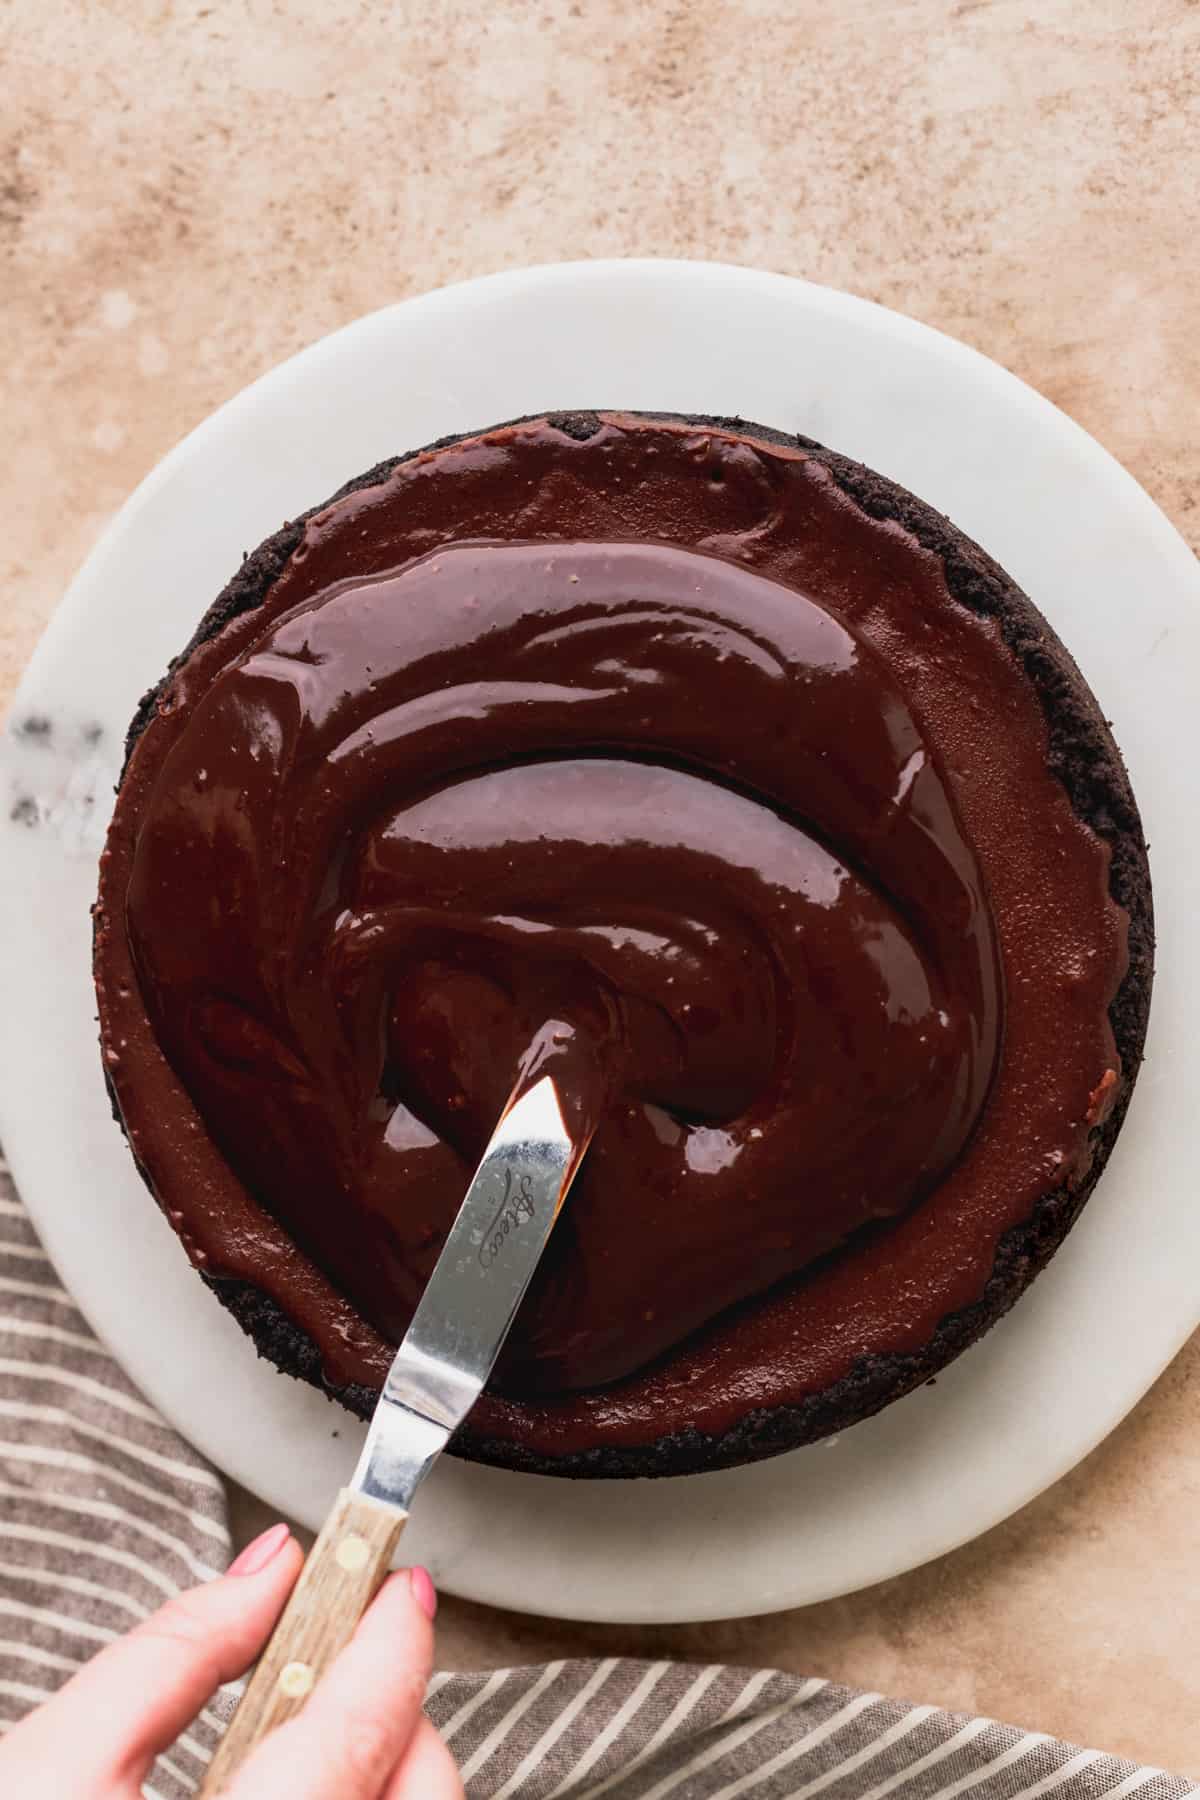
STEP 7: Top with chocolate ganache. Next, remove the cheesecake from the pan. Top with the chocolate ganache.
STEP 8: Decorate with chocolate whipped cream. Let the cheesecake sit in the freezer for 10 minutes to get the chocolate to set before adding the whipped cream on top.

How To Prevent Cracks
First, the all the ingredients in the cheesecake, besides the eggs, needs to be beaten on high until smooth. Cream cheese chunks can cause cracks.
When you add the eggs, they needs to be added on low. The goal is to add as little air as possible into the eggs.
Otherwise the eggs will have air bubbles that will expand and sink rapidly when baking. This will cause cracks.
You also HAVE to have a water bath to prevent cracks. See below on the methods to do it.
When the cheesecake is done baking, it needs to sit in the waterbath in the oven for 30 minutes. Turn off the oven and crack open the over door.
This lets the cheesecake look down slowly. Going from hot oven to room temperature counter will also cause it to crack.
Water Bath Techniques
The water bath provides a moist environment for the cheesecake. This is because of the steam. When it is too dry, it will create cracks in the cheesecake.
Here are two techniques to try. They both use a roasting pan with hot steaming water.
- Place the springform pan inside a 10 inch cake pan. Place the cake pan in the roasting pan. Fill the pan with the hot water (about halfway up the cake pan)
- Wrap the springform pan with foil twice very tightly. Place the springform pan inside the roasting pan. Fill the pan halfway up with hot water.
My favorite method is the first one. This won't let any water at all get into the crust. It makes baking cheesecake so easy!
The second option gives the chance to get water inside and create a soggy crust.
FAQ
No. This is a dairy dessert, so if it is out overnight it will go bad. Make sure to store in the fridge because that would be SO sad!
Yes. I actually have a similar post, mini chocolate cheesecakes. Use that recipe.
Yes you can. it will just make a thick cheesecake. I don't recommend baking this in a cake pan however. it needs to be a springform pan.
Storing and Freezing
Store this triple chocolate cheesecake in an airtight container in the fridge. Store up to 5 days.
Freezing
This triple chocolate cheesecake can be frozen before it is decorated. Chill the cheesecake overnight in the fridge. Then, wrap tightly in cling wrap and freeze up to 30 days.
Thaw the cheesecake in the fridge for 24 hours or place on the counter for 1-2 hours. Thaw the cheesecake before decorating.
Other Cheesecake Recipes To Try
Make sure to leave me a star review below!
Make sure to tag me on Instagram @stephaniesweettreats. I hope you loved it! To get more ideas follow me on Pinterest.
📖 Recipe
Triple Chocolate Cheesecake
Ingredients
Oreo Crust
- 3 cups Oreos crushed into fine crumbs
- 5 tablespoon Unsalted butter melted
Chocolate Cheesecake
- 24 oz Cream cheese room temperature
- 1 cup White granulated sugar
- ¾ cup Unsweetened cocoa powder sifted
- ½ cup Sour cream room temperature
- ¼ cup Heavy cream room temperature
- 1 teaspoon Vanilla extract
- 3 Large eggs room temperature
Chocolate Ganache
- 1 cup Semi-sweet chocolate chips
- ¾ cup Heavy cream
Chocolate Whipped Cream
- 1 cup Heavy cream cold
- 5 ½ tablespoon Powdered sugar sifted
- 3 tablespoon Unsweetened cocoa powder sifted
- ½ teaspoon Vanilla extract
Instructions
Oreo Crust
- Preheat oven to 325°F. Spray a 9 inch spring form pan with non-stick baking spray. Line the bottom with a 9 inch parchment circle. Spray the pan again. Set aside.
- Use a blender or food processor to crush the Oreos into fine crumbs. Combine the Oreo crumbs and melted butter together using a fork. The crumbs should be wet and hold together.3 cups Oreos, 5 tablespoon Unsalted butter
- Pour the crumbs into the pan. Use your hands to press the crust on the bottom and halfway up the sides of the pan. Use the back of a measuring cup to compact the crust down. Bake for 12 minutes. Then, allow to cool slightly while you make the cheesecake batter.
Chocolate Cheesecake
- Start boiling some water for a water bath while you make the batter.
- Using a mixer, beat the cream cheese for 1 minute on high. It should be noticeably fluffy. Add sugar and cocoa powder. Blend on low until cocoa powder is mixed in. Scrape the bowl. Then, beat for 1 minute on high. Scrape the bowl again to make sure it all mixed in.24 oz Cream cheese, 1 cup White granulated sugar, ¾ cup Unsweetened cocoa powder
- Add in sour cream, heavy cream, and vanilla. Beat on medium for 1 minute. The cream cheese should be creamy and smooth. If there are any chunks, scrape the bowl and beat again for 30 seconds until smooth. Add in eggs one at a time on low. Mix until just combined. Scrape the bowl halfway through adding the eggs.½ cup Sour cream, ¼ cup Heavy cream, 1 teaspoon Vanilla extract, 3 Large eggs
- Take the bowl off the mixer. Use a rubber spatula to fold the batter to make sure everything is combined. Pour batter into the pan. Use the spatula to smooth the batter.
- For the water bath use a large roasting pan. It should be about 12x16 inches. Then do 1 of the 2 methods.1. My preferred method. Use a 10 inch cake pan. Place spring form pan inside the cake pan. Then fill the roasting pan with boiling water about half way up the cake pan. This method makes sure no water gets inside the crust. 2. Wrap spring form pan twice in foil. Make sure it is tight! Place in the roasting pan and fill with hot water about half way up the spring form pan.Put the pan in the oven as soon as you put the hot water in. Bake for 70-90 minutes. The cheesecake is done baking when the edges are set and the middle has a slight jiggle. If there is a big jiggle in the middle, bake for another 10 minutes and check again.
- Turn off the oven and prop open the oven door about 3-4 inches. Let the cheesecake sit in the oven for 30 minutes. This helps the cheesecake slowly cool. Then, transfer spring form pan to a cooling rack. Allow to cool completely. Then, wrap in foil and place in the fridge. It needs to chill for 6 hours or overnight before decorating.
Chocolate Ganache
- Take off the spring form pan and take off the parchment circle. Then, pour chocolate chips into a small bowl. Heat the heavy cream in a sauce pan over medium-low heat until hot and steaming.
- Pour the cream over the chocolate chips and make sure the chocolate chips are covered in the cream. Let it sit for 1 minute and 30 seconds. Then, stir until silky smooth. If there are any chunks remaining, heat in the microwave for 15 second intervals. Cool to room temperature before using.1 cup Semi-sweet chocolate chips, ¾ cup Heavy cream
- Pour the chocolate ganache over the top of the cheesecake. Use an offset spatula to spread the chocolate gently over the edge of the cheesecake to have it drip down. Then, smooth the chocolate.
- Chill in the fridge while you make the chocolate whipped cream.
Chocolate Whipped Cream
- Freeze the metal bowl and whisk attachment for 10 minutes. A cold bowl is easier whip up whipped cream in. Using a mixer, pour in heavy cream, sifted powdered sugar, sifted cocoa powder, and vanilla.1 cup Heavy cream, 5 ½ tablespoon Powdered sugar, 3 tablespoon Unsweetened cocoa powder, ½ teaspoon Vanilla extract
- Beat the heavy cream on medium-low until everything is mixed together. You may need to scrape the bowl several times to make sure all of the dry ingredients are mixed in. Turn the mixer to medium-high and beat until stiff peaks form.
- Use a Wilton 1M tip and pipe the whipped cream on top of the ganache.


Mommom’s Cheesecakes says
I was super hesitant to make this as I don’t love chocolate cheesecake. Customers were asking so I knew I could trust a recipe from here. Um…12 stars.