Butterfinger Cake
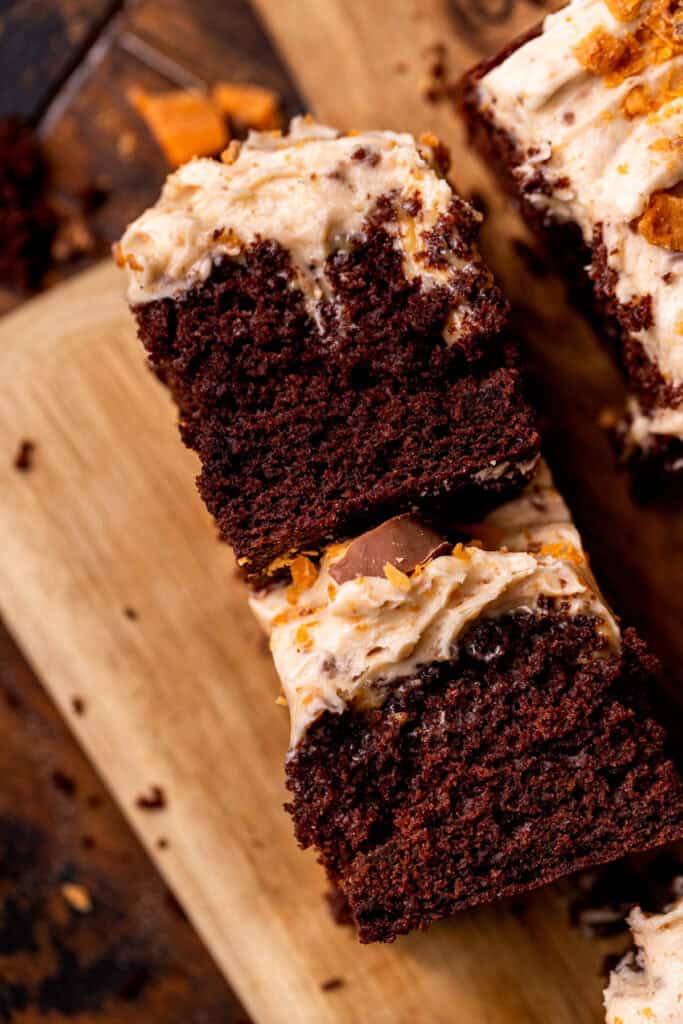
This Butterfinger cake is a moist chocolate cake poked and filled with peanut butter filling. Topped with Butterfinger cream cheese frosting and more Butterfingers!
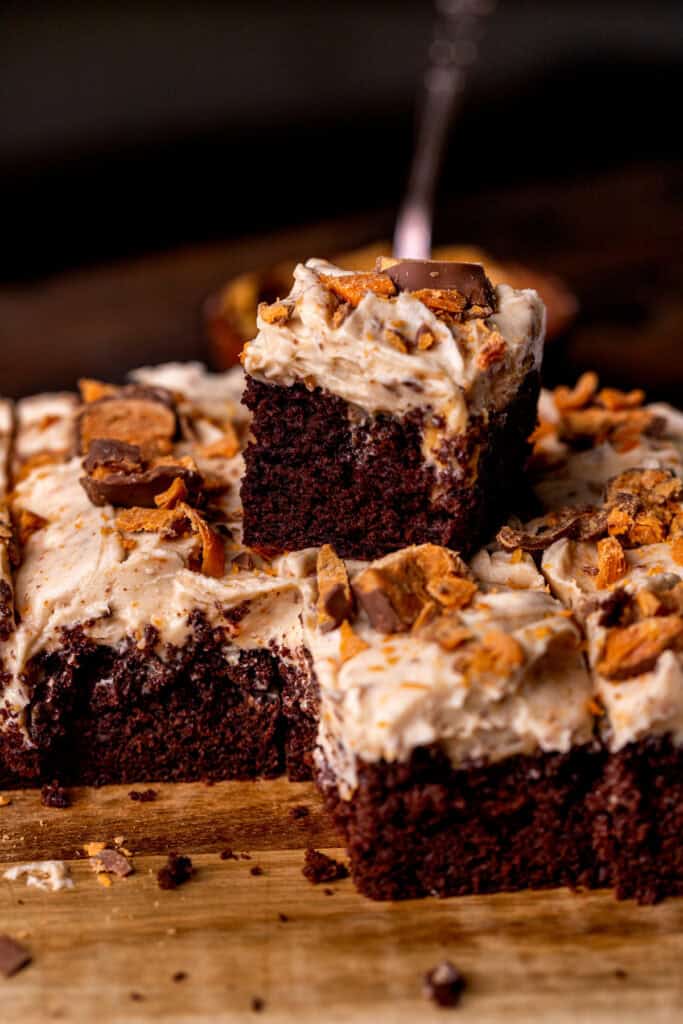
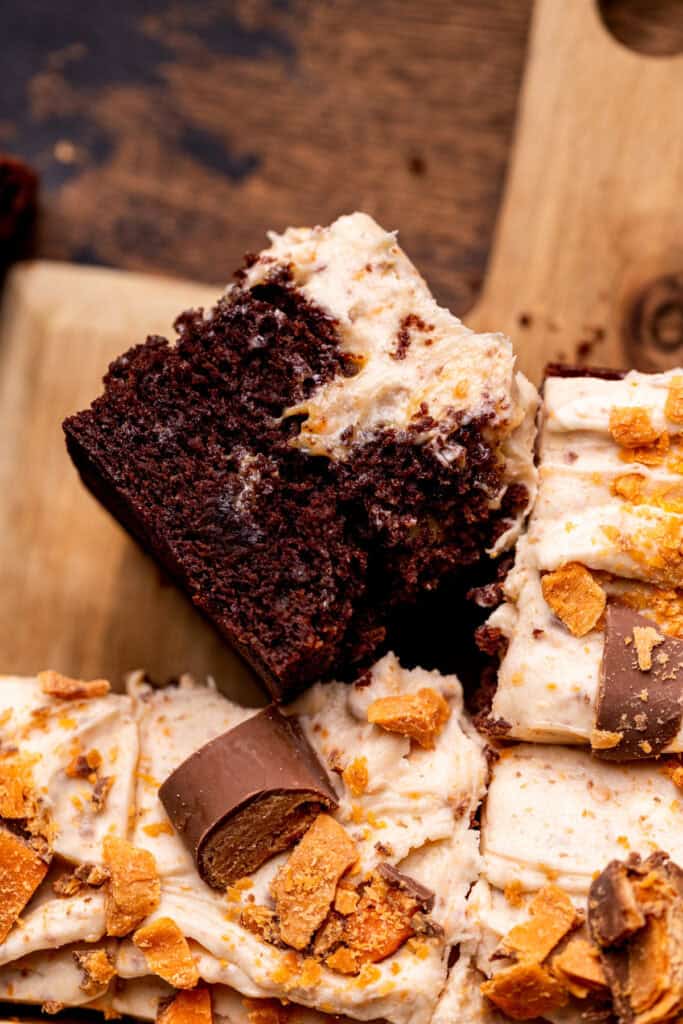
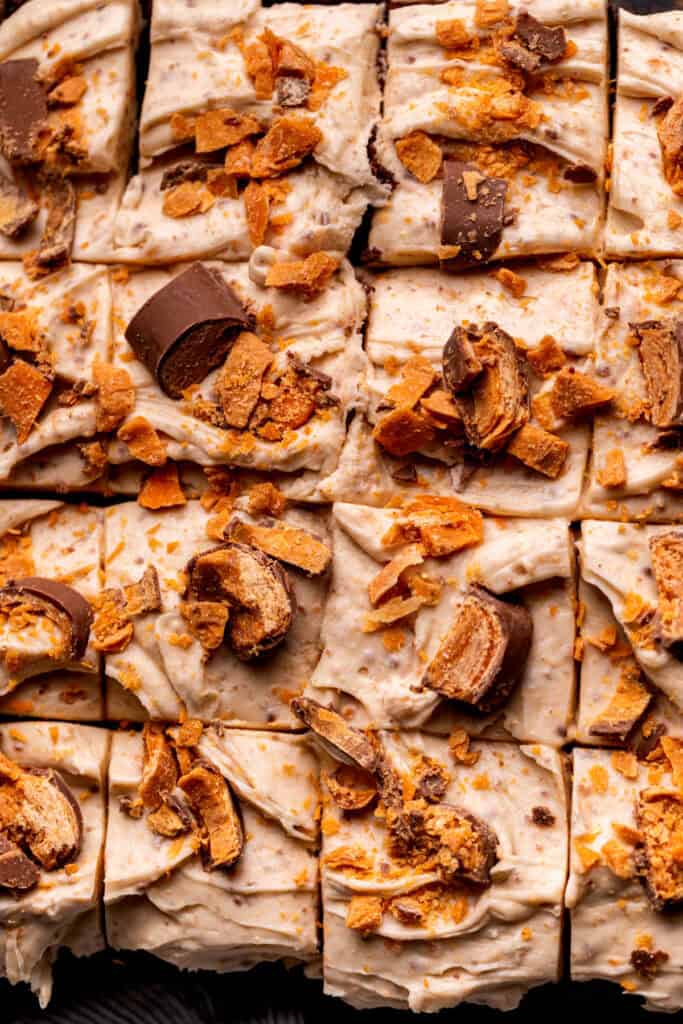
The classic Butterfinger candy bar is now in cake form! This chocolate cake poked and filled with creamy peanut butter filling is perfect for filling that peanut butter and chocolate craving. The Butterfinger cream cheese and Butterfingers on top add even more Butterfinger flavor!
I have tips and tricks and process photos to easily help you make this recipe! If you love candy desserts, you have to try my snickers cake.
Tips for making the cake.
Here are my tips, so yours turns out like this recipe!
- Tip 1: Make sure not to compress your flour when scooping it. I recommend spooning it into the measuring cup as pressing the whole measuring cup into the side to scoop it can compact the flour and dry out your cake.
- Tip 2: Make sure your dairy ingredients are room temperature before use. This will help them combine better when you mix.
- Tip 3: When poking the cake the handle of a wooden spoon works great, but you can also use any other clean cooking instrument of similar size. For smaller holes the handle of a honey dripper or the shaft of a hand mixer attachment can work well.
- Tip 4: When making cream cheese frosting I find it works best to beat the butter for 2 minutes on high before adding the cream cheese. I find that when adding them both at the same time it is easier for them to split.
Assembling the cake
Save this Recipe!
For more peanut butter recipes, try my chocolate peanut butter cake and snickers cake.
Make sure to leave a star review if you loved this recipe! Make sure to tag me on Instagram @stephaniesweettreats. To get more ideas follow me on Pinterest.
Recipe Video

Butterfinger Cake
Ingredients
Chocolate Cake
- 1 1/2 cups All-purpose flour
- 2 TBSP Cornstarch
- 3/4 cup Dutch process cocoa powder
- 1 tsp Baking powder
- 1/2 tsp Baking soda
- 1/2 tsp Salt
- 3/4 cup Oil, canola or vegetable
- 1 1/4 cup White granulated sugar
- 1 tsp Pure vanilla extract
- 3 Large eggs, room temperature
- 1/3 cup Sour cream, room temperature or greek yogurt
- 3/4 cup Buttermilk, room temperature
- 3/4 cup Hot water
Peanut Butter Filling
- 1/2 cup Peanut butter, creamy
- 6 oz Sweetened condensed milk, half of 1 can.
- 1 TBSP Milk
Butterfinger Cream Cheese Frosting
- 8 oz Cream cheese, room temperature
- 1 cup Unsalted butter, room temperature
- 3 cups Powdered sugar, sifted
- 1 tsp Pure vanilla extract
- 3/4 cup Butterfinger crumbs, ground 5 fun size butterfingers
- Butterfingers, for decoration
Instructions
Chocolate Cake
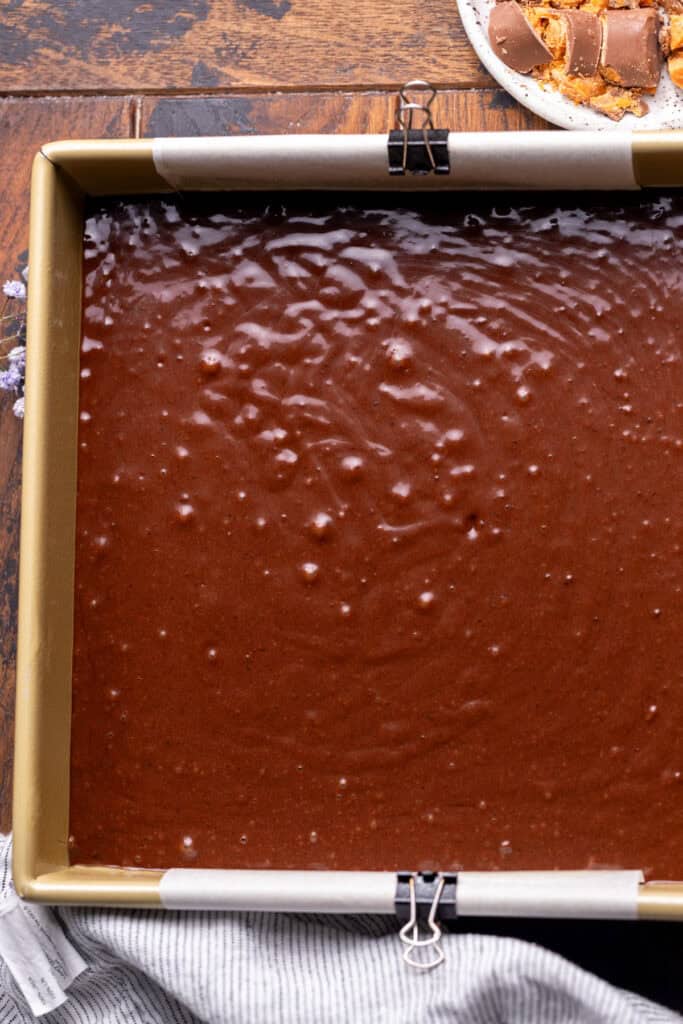
- Preheat oven to 350°F. Spray a 9X9-inch baking pan with baking nonstick spray. Line the bottom with parchment paper and spray again. Set aside.
- In a medium mixing bowl, sift the flour, cornstarch, cocoa powder, baking powder, baking soda, and salt.1 1/2 cups All-purpose flour, 3/4 cup Dutch process cocoa powder, 1 tsp Baking powder, 1/2 tsp Baking soda, 1/2 tsp Salt, 2 TBSP Cornstarch
- In a separate large bowl, mix the oil, sugar, eggs, vanilla, sour cream and buttermilk. Heat water over the stove until steaming. Slowly add and mix into the wet ingredients.3/4 cup Oil, 1 1/4 cup White granulated sugar, 1 tsp Pure vanilla extract, 3 Large eggs, 1/3 cup Sour cream, 3/4 cup Buttermilk, 3/4 cup Hot water
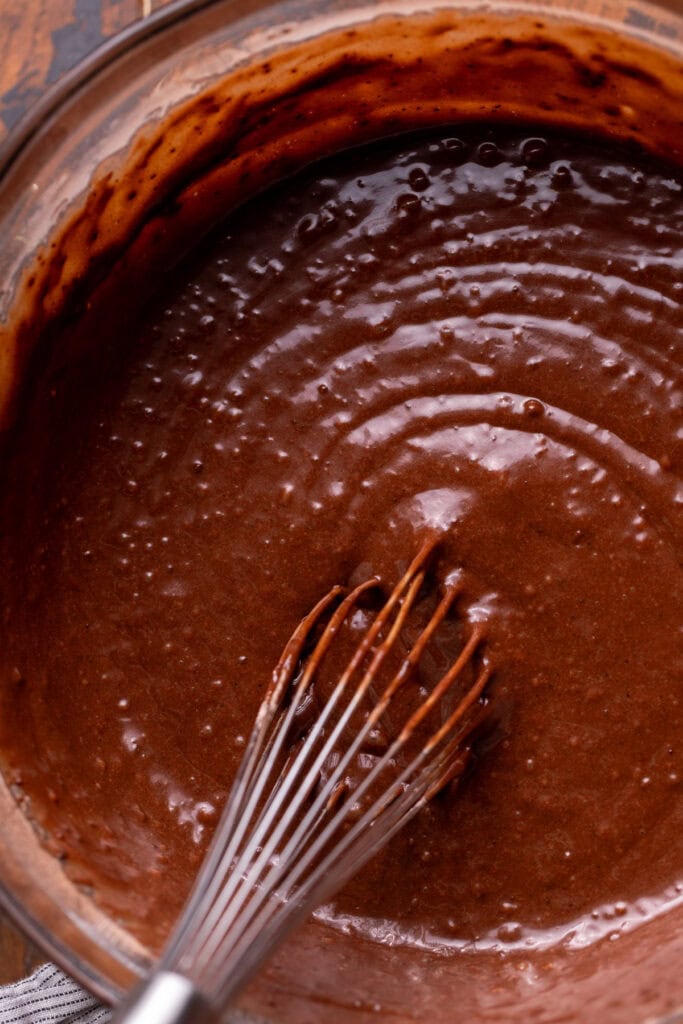
- Add in the dry ingredients and whisk together until smooth and combined.
- Pour the cake batter into the cake pan. Bake for 33-38 minutes. The cake is done baking when a toothpick inserted comes out clean.
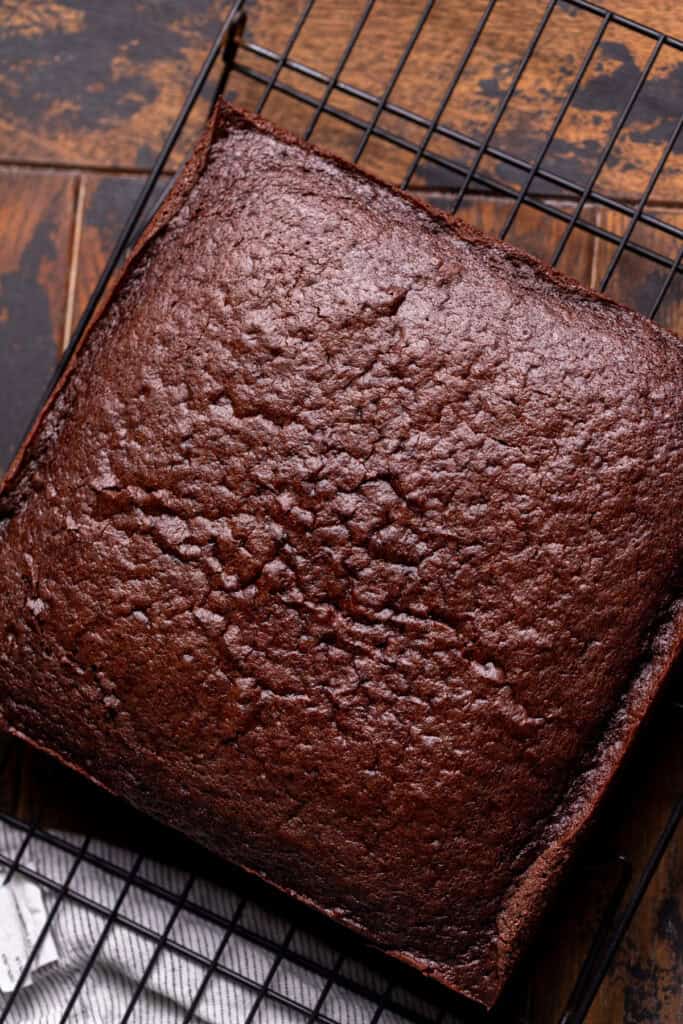
- Let the cake sit in the hot cake pan for 10 minutes before transferring to a cooling rack. Allow to cool completely before decorating.
Peanut Butter Filling
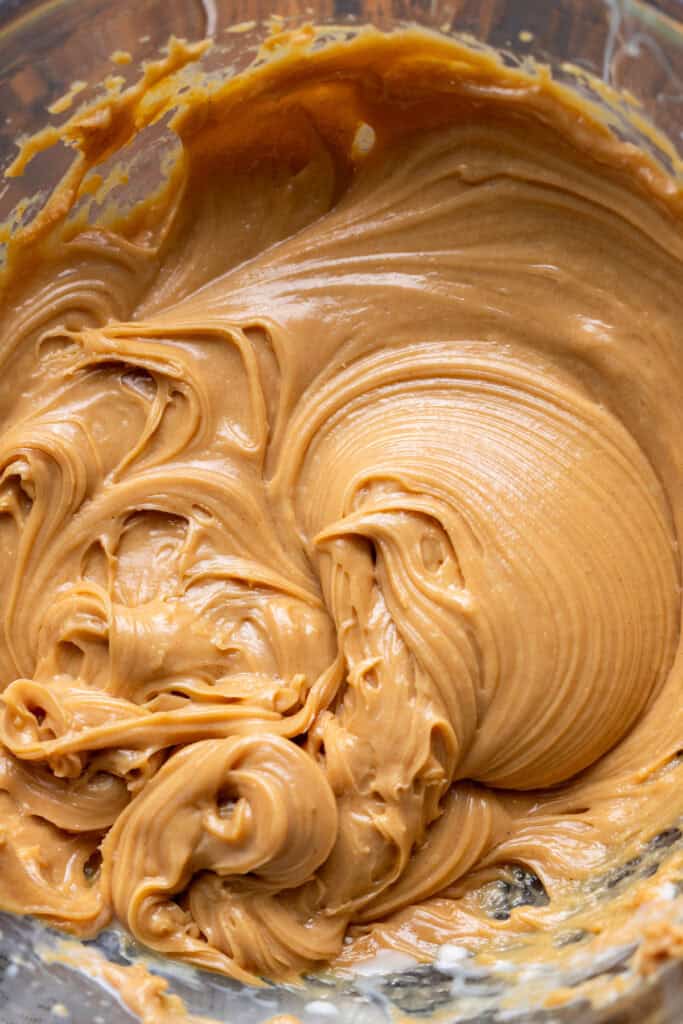
- In a medium bowl, add the peanut butter, sweetened condensed milk, and milk. Use a hand mixer and beat on high speed until creamy. Set aside.1/2 cup Peanut butter, 6 oz Sweetened condensed milk, 1 TBSP Milk
Butterfinger Cream Cheese Frosting
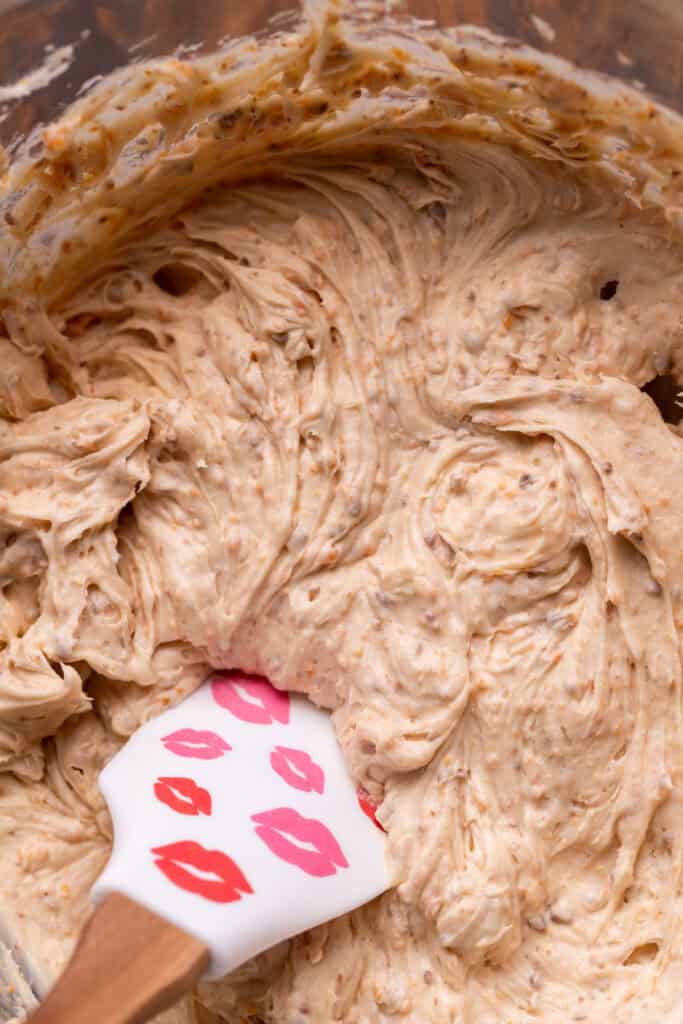
- In a medium bowl, sift the powdered sugar. In a food processor, blend the butterfingers into a fine crumb. Add to the powdered sugar.3 cups Powdered sugar, 3/4 cup Butterfinger crumbs
- Using a mixer, beat the butter on high speed for 2 minutes. Scrape the bowl using a rubber baking spatula. Add in the cream cheese and beat on high speed for 1 minute. Make sure it is completely smooth and no chunks remain.8 oz Cream cheese, 1 cup Unsalted butter
- Add in half of the powdered sugar and mix on low speed until just combined. Add in the rest of the powdered sugar on mix on low speed. Add in the vanilla and beat on high speed until creamy.1 tsp Pure vanilla extract
Assembly
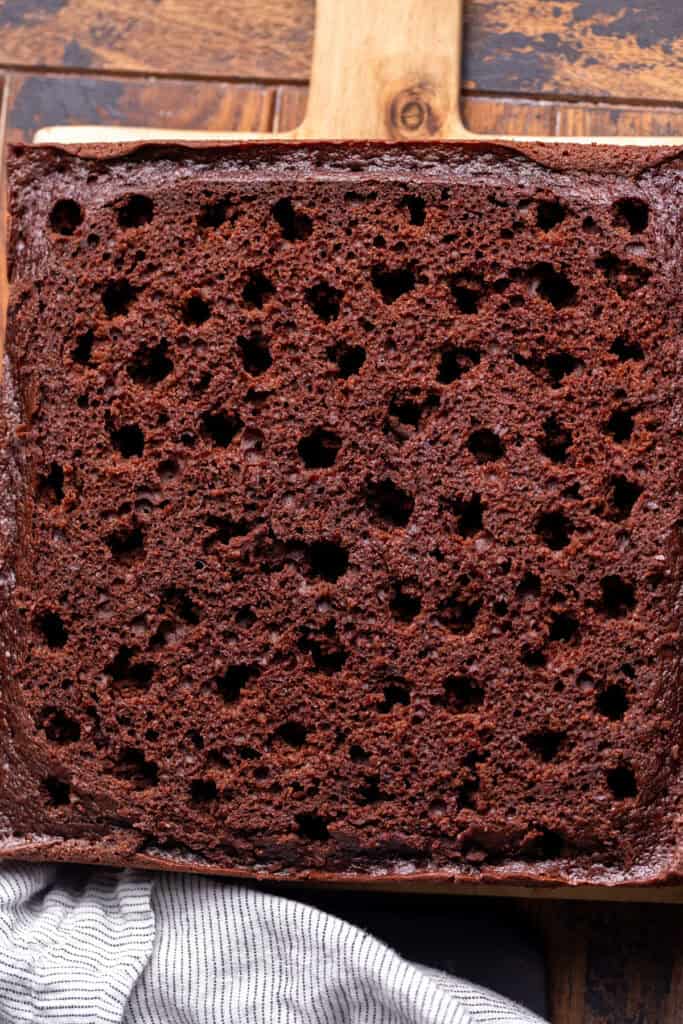
- Use a serrated knife to cut a thin layer of the cake off the top, so it is even. Place cake on your desired serving dish. Use the handle of a wooden spoon to poke holes in the cake evenly throughout the cake.
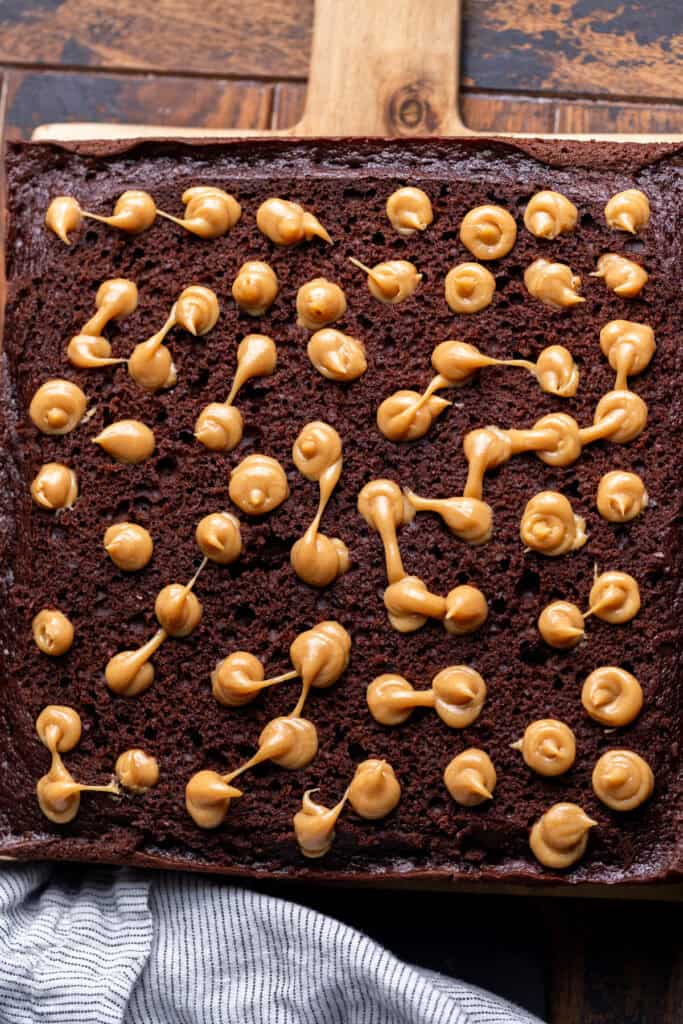
- Place the peanut butter filling into a piping bag and cut a small hole on the bottom. Fill the holes with the peanut butter filling. Once filled, spread even with an offset icing spatula.
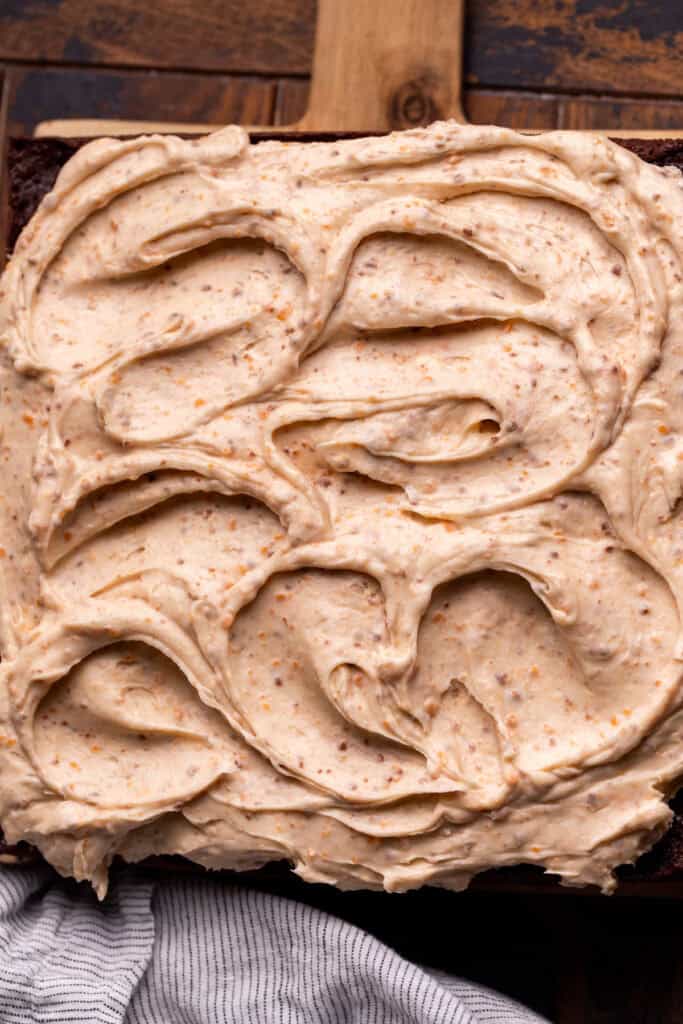
- Top with the frosting and spread until even. Top with butterfingers.Butterfingers
Where is the recipe for the three layer cake? I made it last year but all it shows is for a sheet cake? Thanks, oh by the way the cake was amazing 😍
The way you list the items needed for that particular part of the recipe is much appreciated, I’ve often wondered why other cooks don’t do this .
thanks again
How would I adjust this recipe to fit two 10×3” cake pans? Thanks 😊
The Butterfinger frosting calls for 8 1/2 cups of powdered sugar.
That seems like a lot. Is that measurement correct?
Thank you, Have a blessed day!
You need a lot of powdered sugar to have a thicker frosting.
this recipe looks so yummy, it is possible to use two 9 inch cake pans instead of the three 8 inch ? Guess I would have to cut the filling in half ?
Thank you,
Yes you can! Cut the filling in half since you only need to fill one layer.
Thank you
This cake is so delicious!
Butterfinger cake is such a great idea! This cake just blew me away! I loved every bite and so did my whole family! My son kept bugging me for another piece!
I made this for my husband’s birthday yesterday and it was amazing! Everyone loved it. It is time consuming to make but worth it.
I’m making this now and under the ingredients it has one and a half cups chopped Butterfinger in the peanut butter whipped cream however in the instructions it doesn’t have it adding it in there. Does the Butterfingers go in the peanut butter whipped cream??
The Butterfingers go on top of peanut butter whipped cream. Spread the peanut butter filling. Then, top with the butterfingers.